To get started Widgets menu show information in categories that include weather, news, stocks, entertainment, sports, and even more. Maybe you want to add or remove widgets so that you get the information about which you want to say updated. One of the best things about the widgets menu is that users can customize what widgets can appear in the menu. In this blog post, we will share step-by-step instructions on how to add and remove widgets in Windows 11.
How to Add or Remove Widgets in Windows 11
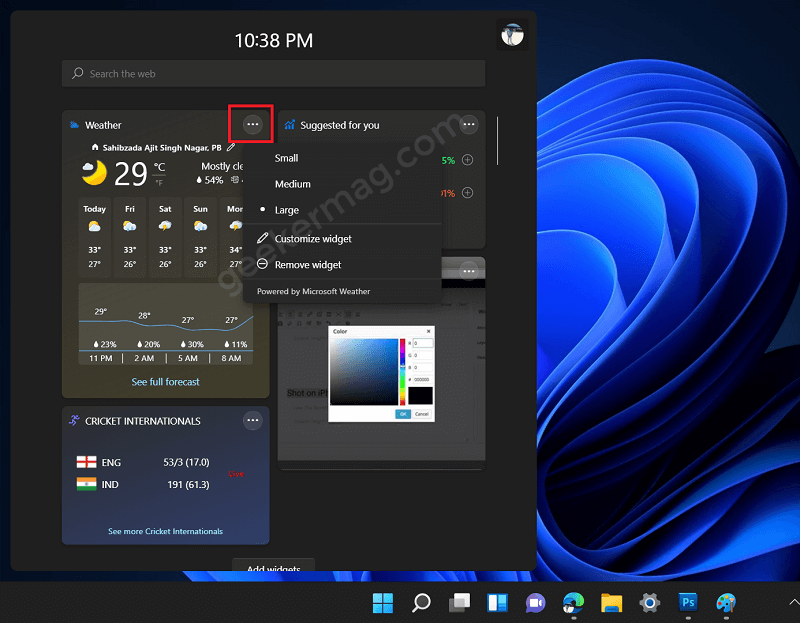
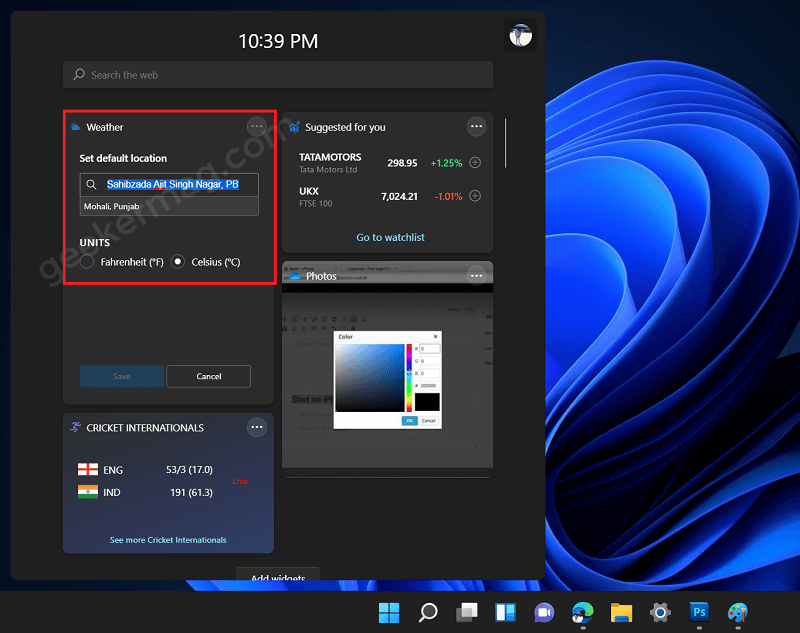
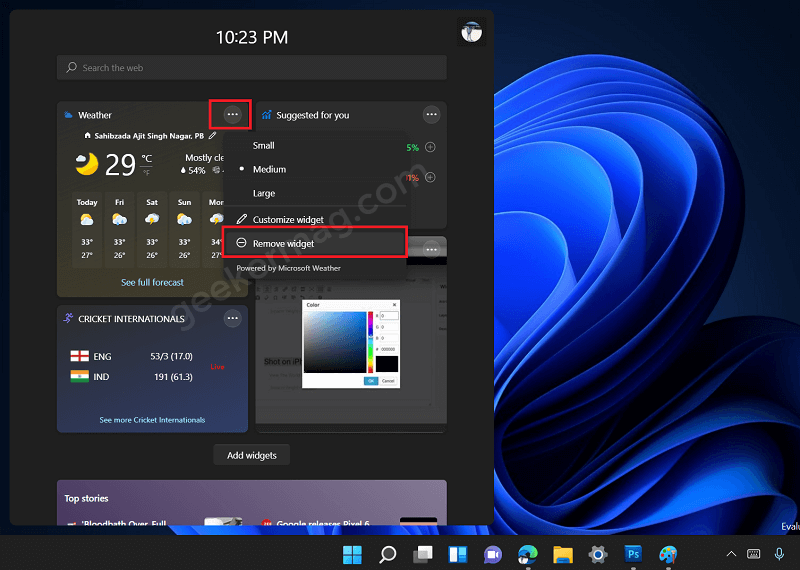
Launch Widgets menu in Windows 11. For that, click on the Widgets button available on the taskbar. Click on the Add Widgets button and this will take you to Widgets settings. Here, click on the (+) icon available next to each widget. Next, click on the (X) Close. Instantly, the particular widget will be added to the Widgets menu. After adding the particular widget, you can customize the Widget card size accompanied by what information appears in the widget card. Here’s how you can do that: Click on the (…) icon and select Size, it has three sizes available Small, Medium, and Large. From the menu, you can click on Customize widget option. Here, you can edit the information that you want to appear. For example, if it’s a weather widget, then you can change the area, temperature unit, and even more. Apart from that, if you want to remove Widgets from the Widgets menu in Windows 11, then here’s how you can do that: Launch Widgets menu by pressing WIN + W key combo. Head over to a particular widget that you want to remove, then click on the (…) icon and select Remove widget. Instantly that widget will disappear from the Widget menu. As simple as that. So what are the widgets that you want to add or remove from the Widgets menu in Windows 11? Feel free to share in the comments.