In Windows 10 Anniversary Update and other Windows 10 version, it is possible to partition internal system drives using Disk Management Tool, but the same is not possible for USB Drive. To achieve the same for USB Drive users need to use Command prompt or third party software. Starting with Windows 10 Creators Update (v1703) Microsoft has introduced a functionality using which users can partition USB drive in the Windows 10. The only requirement is that USB drive needs to be formatted in NTFS to create multiple partitions.
How to Partition USB Drive in Windows 10 from Disk Management Tool
In case, you made up this far then there is no doubt that you also want to achieve the same. In upcoming lines, you’re going to read step by step guide on how to partition USB Drive in Windows 10 from Disk Management without using any third party software or the Command Prompt.
- Connect USB Drive to PC running Windows 10 Creators Update (v1703) or above.
- Launch File Explorer. For that Press WIN + E keyboard key.
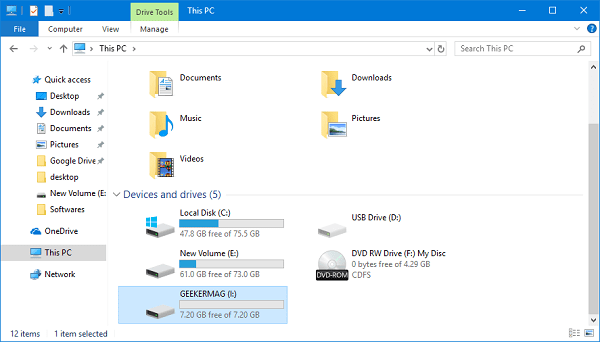
- Look for the Drive of USB Drive.
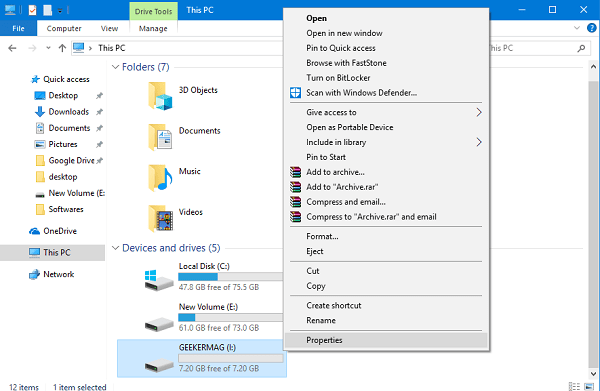
In my case it is (I:) it can be different in your case. 4. Make a right click on the USB Drive and from the context menu select Properties.
The Properties window will appear. Here you need to look whether USB Drive is formatted in FAT or NTFS. If FAT or NTFS is written next to File System, then it is formatted in FAT or NTFS respectively.
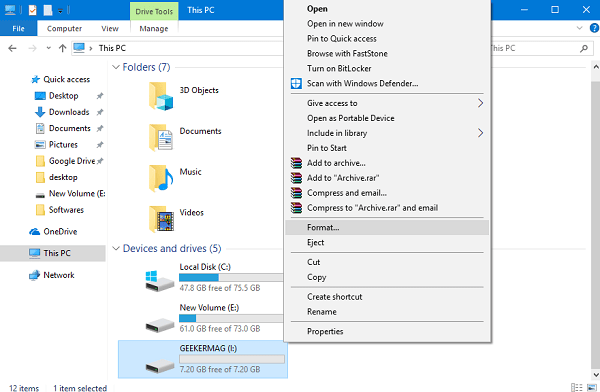
In my case, the USB Drive is formatted in FAT File system. You can check that clearly in above screenshot. 5. Now first I need to format my USB Drive in NTFS, and for that, I need to make right click on the USB Drive and from the context menu select Format.
In the Format window, you need to set File system to be NTFS
Now click on the Start button. When you see a warning message, click OK to continue.
Once the process is completed, you will see the message which reads “Format Complete.”
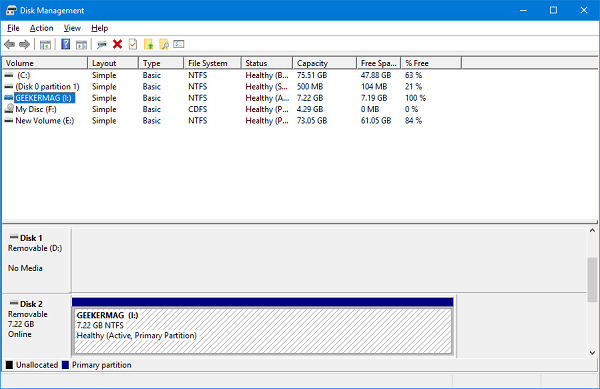
Launch Disk Management Tool in Windows 10. For that, make a right click on the Start button and from the WINX menu click Disk Management.
In the Disk Management window, you need to select drive of USB Drive. In my case it’s (I:) it can be different in your case.
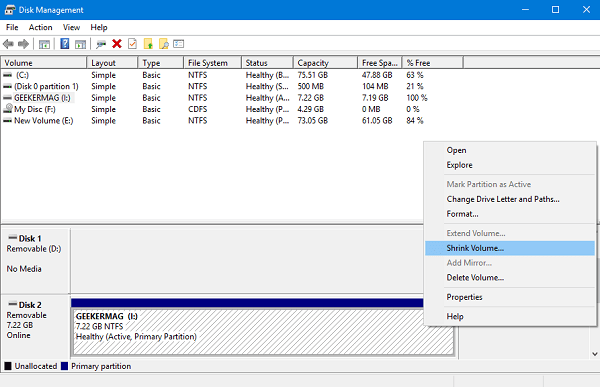
Now make a right click on the USB Drive and from the context menu select Shrink Volume.
This will launch the Shrink Volume dialogue box.
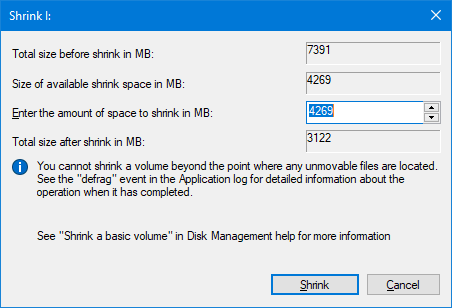
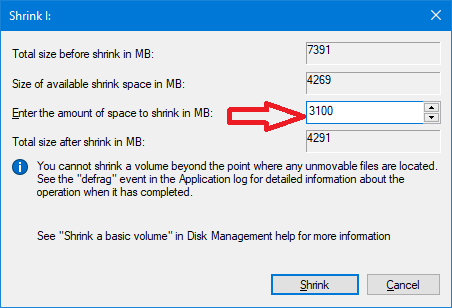
- In Shrink Volume dialogue box, you need to look for the option which reads “Enter the amount of space to shrink in MB:” next to it, you need to type the amount in the MB of which you want to partition USB drive. For example, If you have USB Drive of 8GB and want to create two partitions then you must shrink the drive to around 3000 MB.
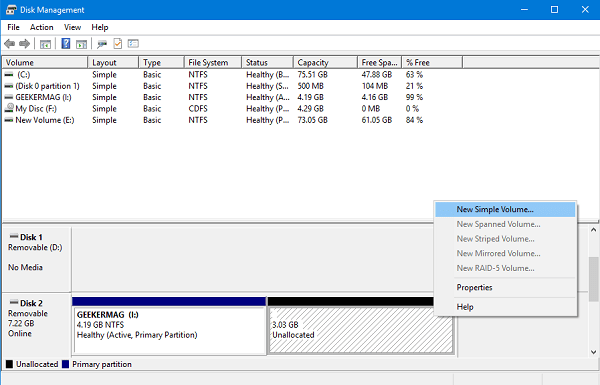
Click on the Shrink button, and this will build a the unallocated space on the USB Drive. In my case, it creates unallocated space of around 3.03 GB in the USB Drive. The size can vary in your case. Check the screenshot for a clear idea:
Now you need to make a right click on the newly created unallocated space and from the context menu select the option which reads “New Simple Volume.”
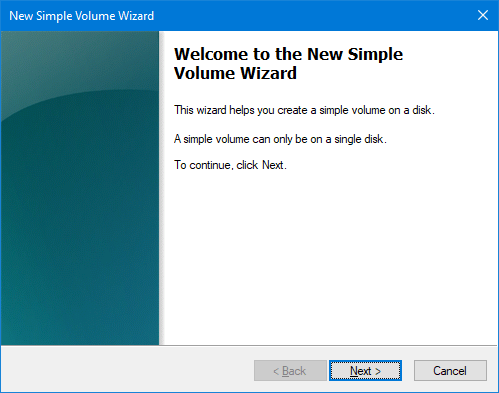
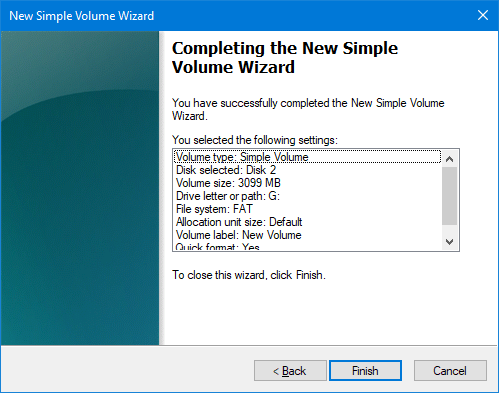
The New Simple Volume Wizard window will appear, here you need to click on the Next button.
In the next screen, you need to define new partition or volume size. If you want to consume all the unallocated space just to create two partitions on the USB Drive, then just click on the Next button.
In case, you want to create multiple partitions on the USB drive (more than two) from the unallocated space; then you’re required to decrease the Simple volume size accordingly and then Click on the Next button. 12. In the next screen, you need to assign the drive letter and then click on the Next button.
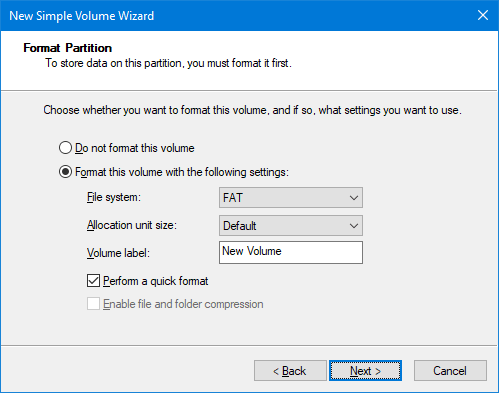
- In the Format Partition screen, you just need to click on the Next button, and this will create the raw partition on the USB Drive.
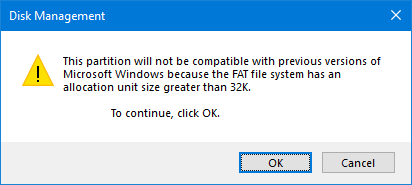
When Disk Management warning dialogue box appears, click OK to continue.
Once done, click on the Finish button in the New Simple Volume Wizard window.
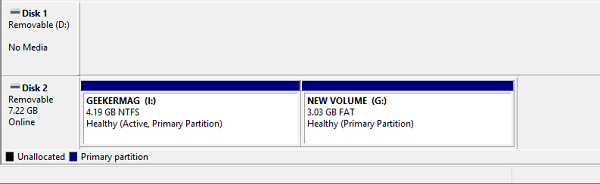
Now if you open File Explorer and Disk Mangement tool you will see two partitions on the USB drive. Check the following screenshots: File Explorer
Disk Mangement Tool
Delete Partition in USB Drive
For any reason if you want to delete the partition on the USB Drive, then here is what you need to do: Note: Make a backup of all the content available in the drive to save further data loss.
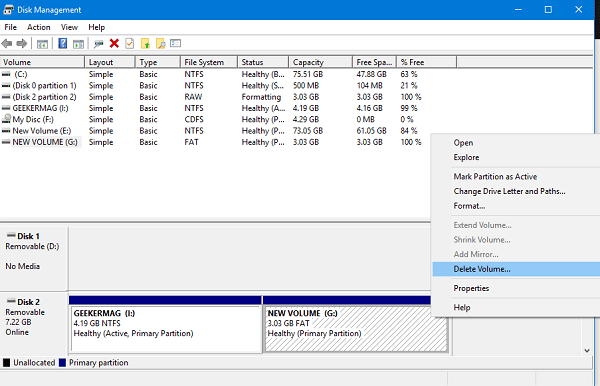
- Launch the Disk Management Tool.
- Make a right click on the USB Drive Partition and from the context menu choose Delete Volume. This will create unallocated space on the USB Drive. You need to follow this step on the all the partition which you have created on the USB Drive.
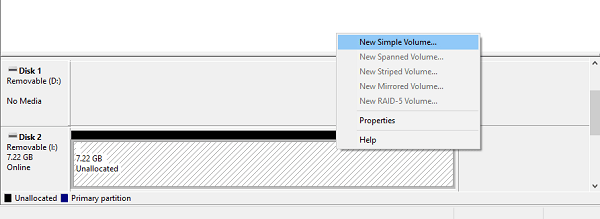
When the warning message appears, click Yes to continue. 3. Now you will be left with unallocated space simply make a right click on the unallocated space on the drive and from the context menu select New Simple Volume.
- This will launch the New Simple Volume Wizard -> Next -> Specify Volume Size (Make No Change) -> Next -> Assign Drive Letter or Path (No Change) -> Next -> Format Parition (No Change) -> Next -> Finish. That’s it. I hope you find this article to partition USB Drive in Windows 10 using Disk Management useful. Let me know if you need any assistance.