Similar to other Word processors, Google Docs also let users change margins so that you can fit texts in the document according to your requirement. When you create a document using Google Docs, you might have noticed that it already has a default margin of one inch, from top to bottom and left to right in the document.
How to Change Margins in Google Docs
Sometimes, you want to set custom margin in Google Document, right? Changing Google Document margin is super easy, but there might be users who don’t the exact steps.
Change Margin from Print Setup
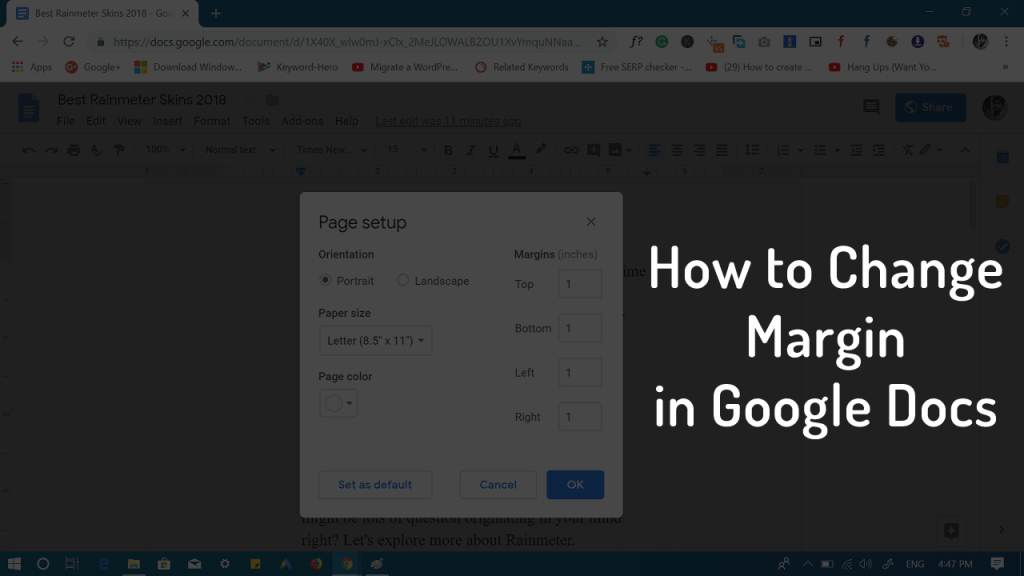
Open Google Document, then click on File -> Print Setup. This will open the Print Setup dialog box, here head over to Margins section on the right. You can set your desired margins for Top, Bottom, Left, and Right sides.
Quickly Change Left & Right Margin
In case you just want to change margin of left and right side of the document, then there is a quick method to do that. Here’s what you need to do: In the Google Document, find the ruler it is available on the top of the document. To change the margin for the left side, you need to move left Indent (rectangular icon pointing down) along the ruler. Move it till you get desired margin. You can do the same, if you want to change margin for the right side. That’s it Find this blog post on how to change margin in Google Docs handy? I would like to hear from you in the comments.