With Windows 11, the company has made the process to switch between microphone super-easy. There are two ways to choose your Microphone on Windows 11 PC, which involves using the Action center available on the taskbar and the Settings app. Let’s discuss how you can do that.
Choose Default Microphone using Action Center in Windows 11
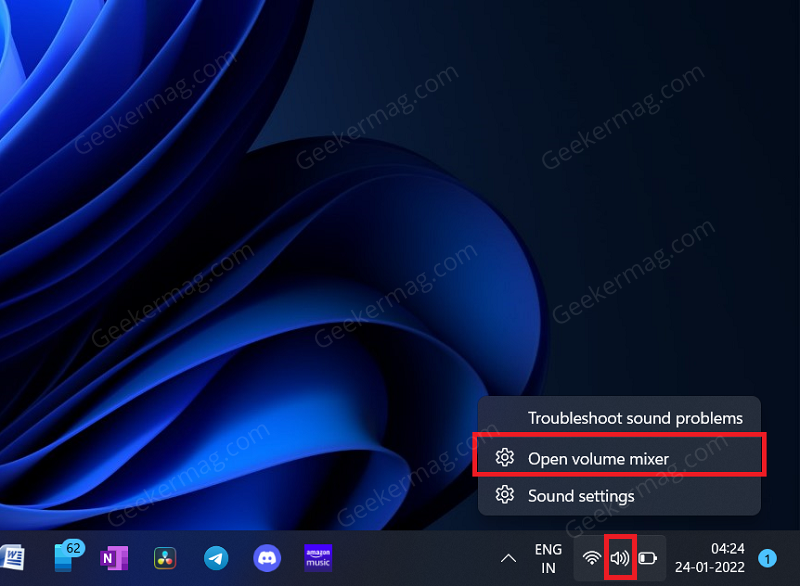
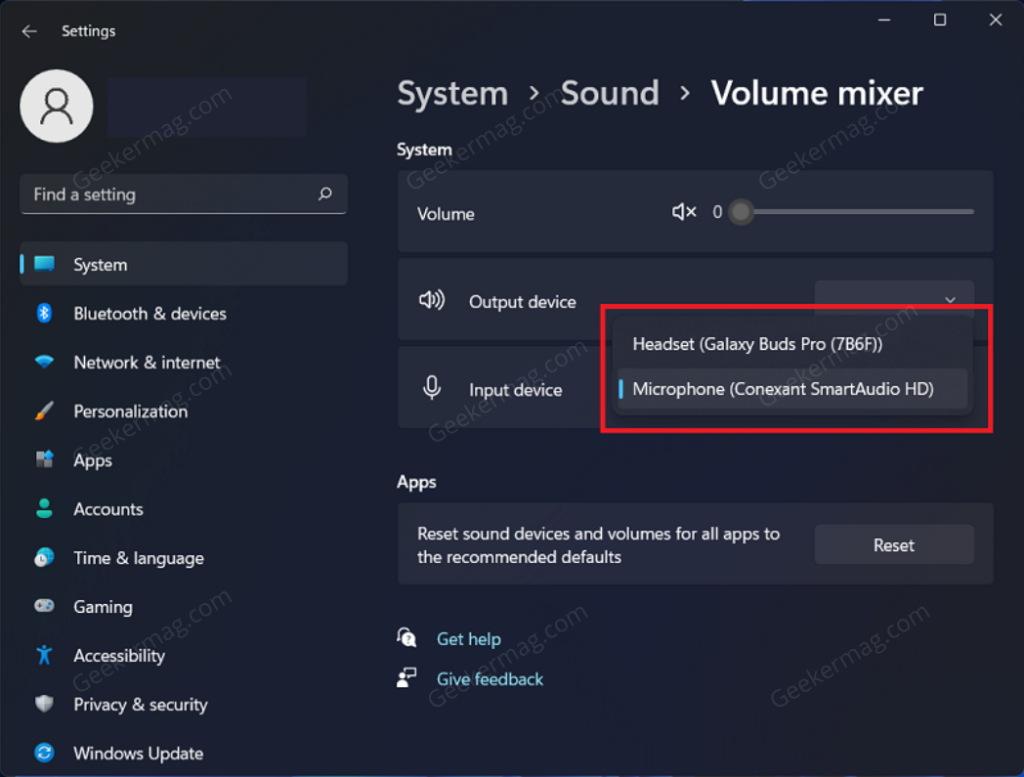
Right-click on the Speaker icon (volume icon) at the right corner of the taskbar, and then from the menu that opens up, click on Open Volume Mixer. On the window that opens up, click on the drop-down menu next to the Input device and select the microphone you want to set as the input device.
Choose Default Microphone using Settings app in Windows 11
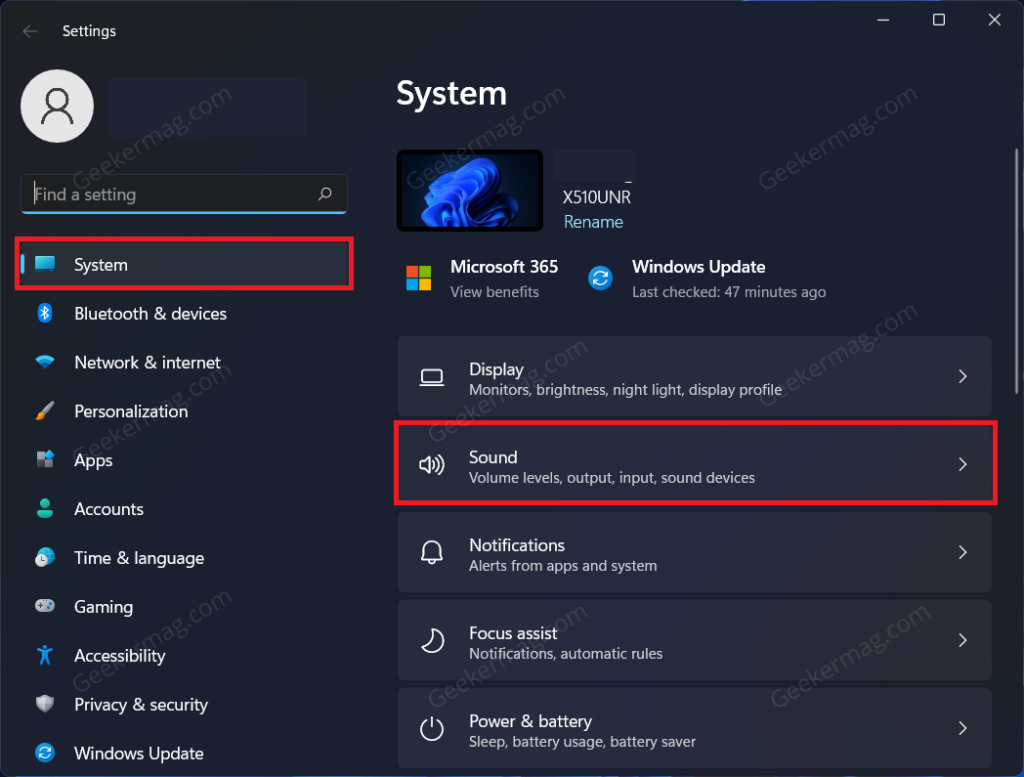
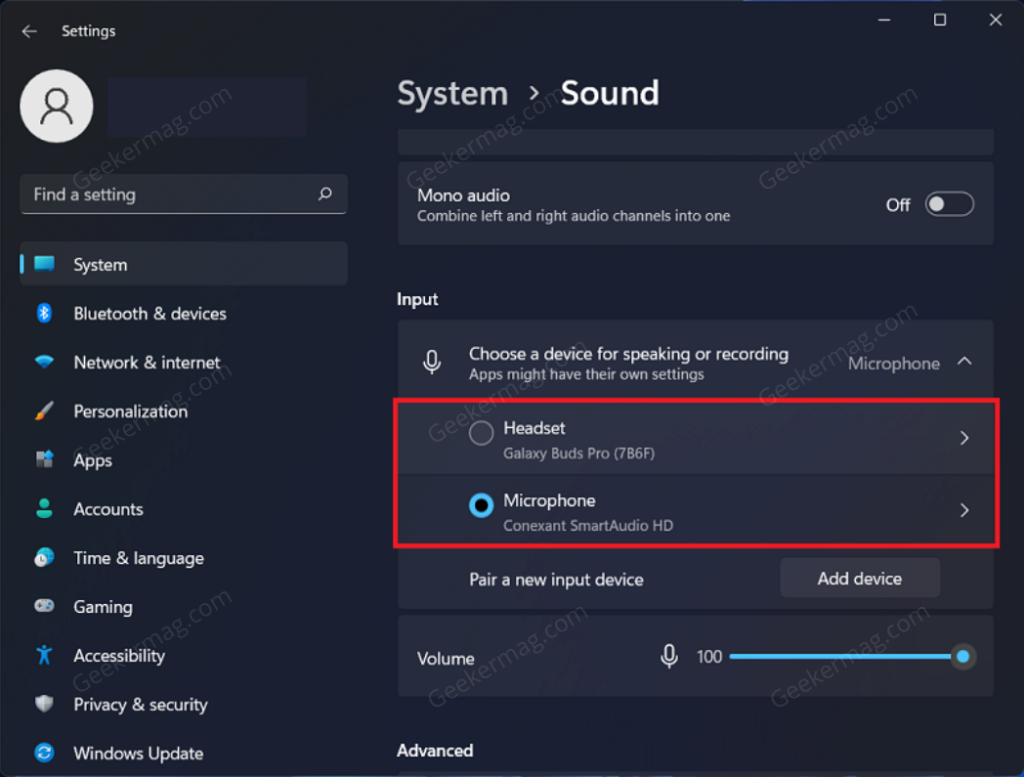
Open the Settings app on your PC by pressing the Windows + I key combo. In the Settings app, you need to select System > Sound. Here, under the Input section, select the microphone you want to use as the input device. You will now be able to use the microphone you selected as the input device for your PC. Alternatively, you can reach the same input section in Sound settings page. For that, right-click on the speaker icon on the Action center then select Sound settings. In case, the microphone you want to set default isn’t listed under input section, then unplug and plugin again to check if it appear. After selecting a particular microphone, you can increase or decrease the volume level of microphone using the Volume slider listed just below list of microphone. If you’ve recently upgraded to Windows 11 and microphone is not working, then check out this blog post: How to Fix ‘Microphone not working in Windows 11’ after upgrading