Although there are various methods to fix issues related to Windows Update, but clearing Windows Update cache method is one of the most effective method that works all the time. So what is Windows Update Cache? Whenever the Windows Update service downloads the latest update for your device, Windows Update Cache is downloaded automatically. Most of the time it happens when downloaded updates files are corrupted. As a result, you will face issues while installing the latest update. Fortunately, deleting Windows Update fix the issue. You might be interested in reading – How to Clear Windows Store Cache in Windows 10
Clear Windows Update Cache in Windows 10
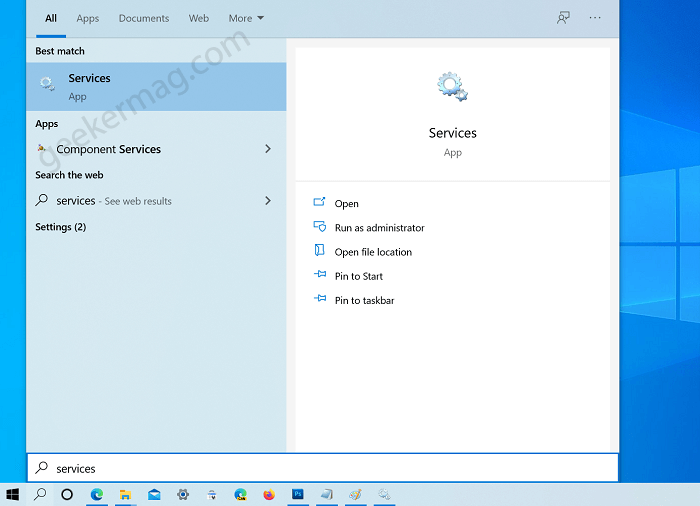
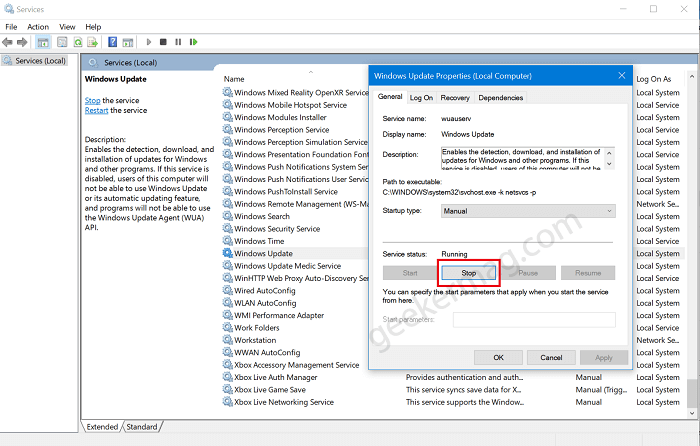
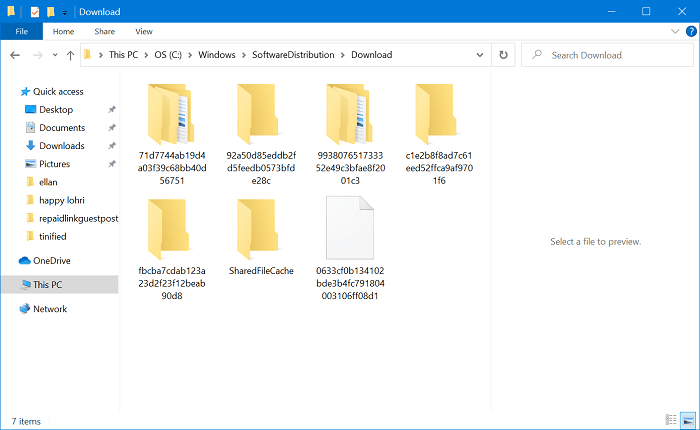
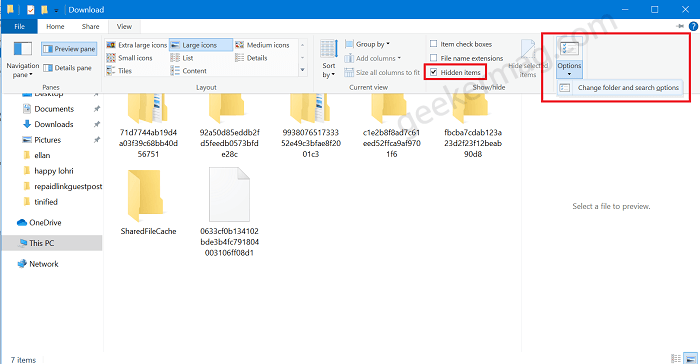
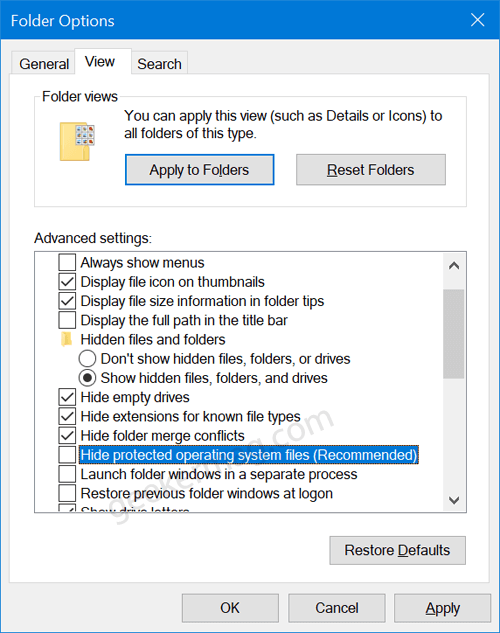
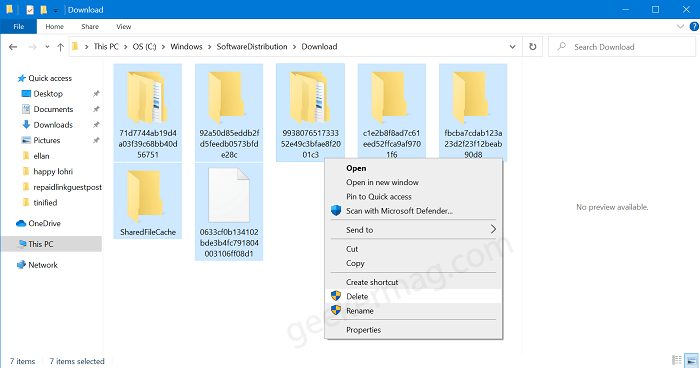
If you made up to this blog post, then chances are you don’t know how to delete Windows 10 update cache right? To help you out we decided to cover step by step instructions on how to do that: In Windows 10 Search, type services, and when the same app appears in the search results, click to open it. In the Services app, you will find all the services running in Windows 10 OS. Here, you need to look for a service called Windows Update. Double click on it to open Windows Update properties. Here head over Service status section and then click on Stop button. Next, open the Windows 10 installation drive and head over to Windows > SoftwareDistribution > Download this folder. Mostly Windows OS is installed by users in C Drive, so you need to visit here: For example C:\Windows\ SoftwareDistribution\Download Once you reach the Download folder, make sure the folder view is set to show hidden files. For that, click on View and the check box for Hidden files. After that, click on Options > Change options and search options. In Folder options, switch to View, and here uncheck the box for “Hide protected operating system files (Recommended)“, when the warning dialog appears, click Yes to continue. Next, click Apply and OK. Doing this will show you all the hidden and protected files in Download folder. To clear Windows 10 Update cache, you need to delete all the files and folders in the Download folder. For that, select all by using CTRL + A and then press Delete. In case, the system asks you to enter your account password, PIN or fingerscan then do it for clearing Windows Update cache. Congratulations, you’re done! Now again open Services apps > Windows Update > Windows Update Properties. Here, click on the Start button. Doing this will start the Windows Update service and this time you will be able to download and install the latest update. So these are steps for clearing Windows Update cache in Windows 10. We hope this will fix all the Windows Update service issues. If you need further assistance, feel free to ask us in the comments