Convert Images in macOS 13 Ventura on Mac (Quick Guide)
To me, the best part about the Mac’s built-in image converter is the ability to let you transform not just individual photos but also multiple images at once. Perfect for the times when you wish to go your all out to double down on productivity.
Convert Specific Images into Different File Formats on Mac
- First off, head over to the image that you would like to convert.
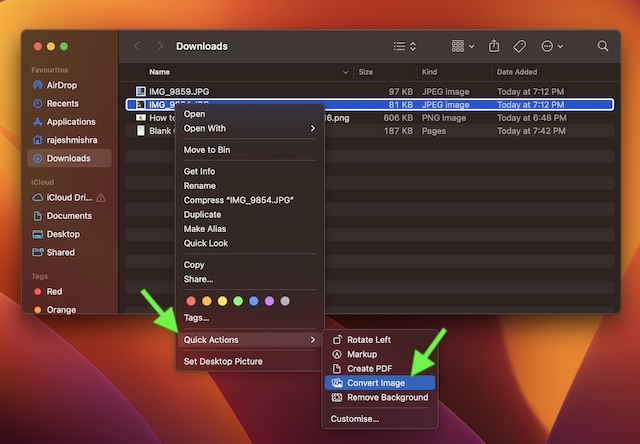
- Then, select the image. After that, Control/Right+Click and choose Quick Actions.
- Next, click on Convert Image.
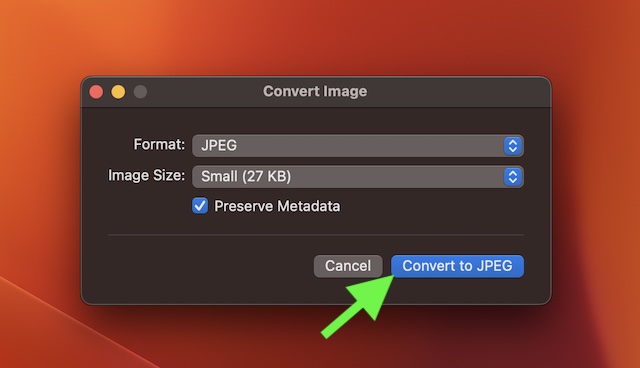
- Next up, select the preferred image format and the size.
- After that, click on Convert to JPG (selected format). That’s done! It will instantly convert the image and save it in the same folder.
Convert Multiple Images at Once on Mac
The image conversion is just as simple.
- To get going, navigate to the folder where you have stored your images.
- Now, select all the images that you want to convert and then Control/Right+Click.
- Next, choose Quick Actions.
- Next up, select Convert Image.
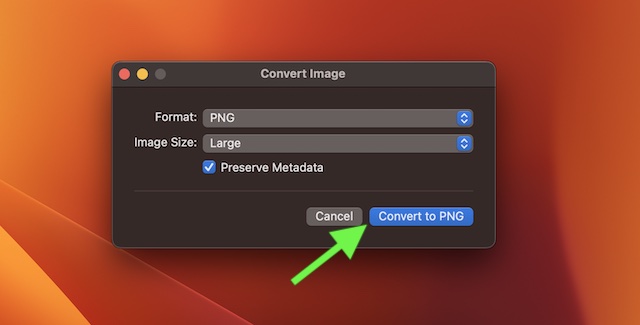
- Up next, choose the preferred file format and the image size.
- In the end, click on Convert to JPG or any other image format you have selected. That’s done! It will immediately convert your images and place them all in the same folder/location.
Wrapping Up…
Both in terms of efficiency and speed, the macOS’s built-in image converter has looked up to the task to me. So, I’m going to give it a thumbs up. What’s your take on it? Do share your feedback and whether or not it has been able to live up to your task.