Sometimes, the same file gets corrupted while installing a new font or updating the existing font. As a result, you might experience various issues like the fonts rendering properly or garbled, fonts don’t appear, invalid or unwanted characters showing up, and even more.
How to Delete Font Cache & Rebuild Again in Windows 11
To fix the issue font cache corruption issue in Windows 11 what you need to do is to delete the old font cache available on the PC. After that, reboot the PC to rebuild a new font cache file.
Below in this blog post, we will share how to rebuild the font cache to repair it in Windows 11. So let’s get started:
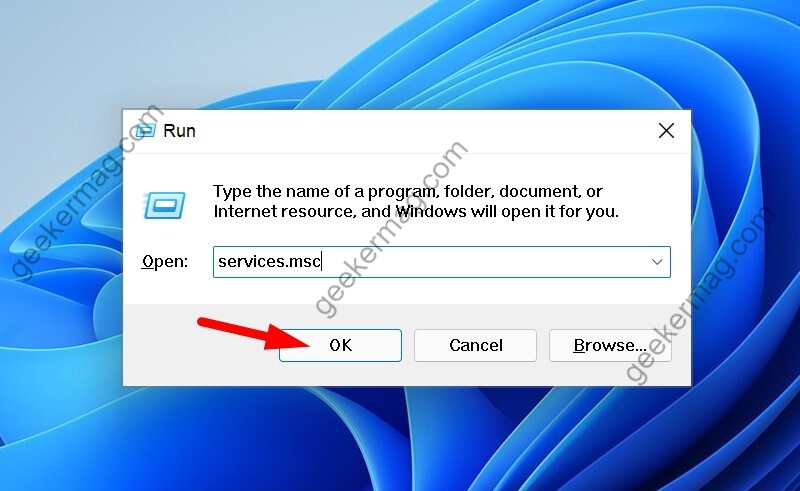
Open the Run command box with Windows + R key on the keyboard.
In the Run tool, type ‘services.msc‘ and press enter. This will open Windows services.
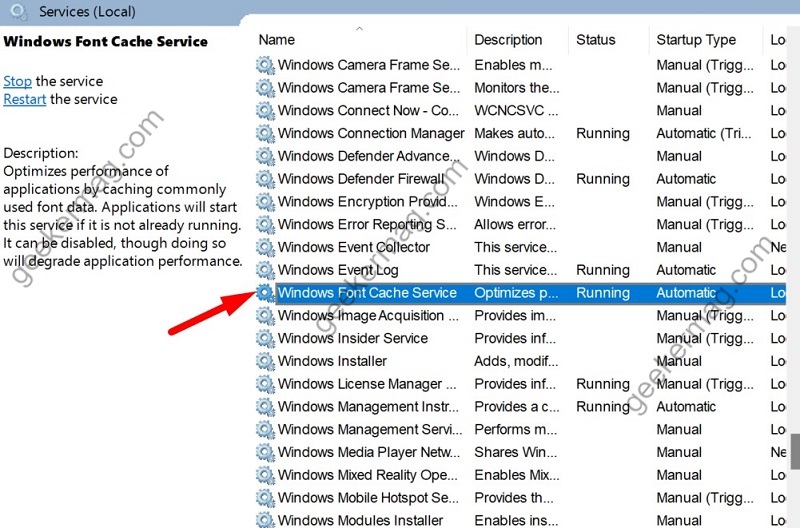
In Windows services, find Windows Font Cache Service and double-click on it to open it.
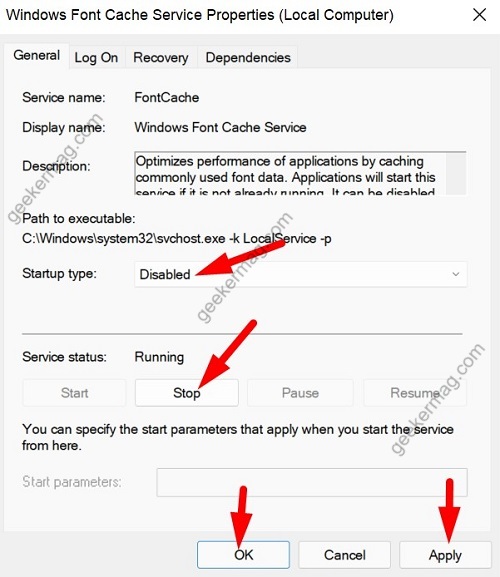
Select Disabled from the Startup type dropdown and click on the Stop in Service status option. After that, click on Apply and OK to save changes.
Following the same procedure, locate Windows Presentation Foundation Font Cache 3.0.0.0 service in Windows Services. After that, disable the service, stop it and click Apply/OK to save changes.
Note – If the above service is not available, then you can ignore it and follow steps discussed below
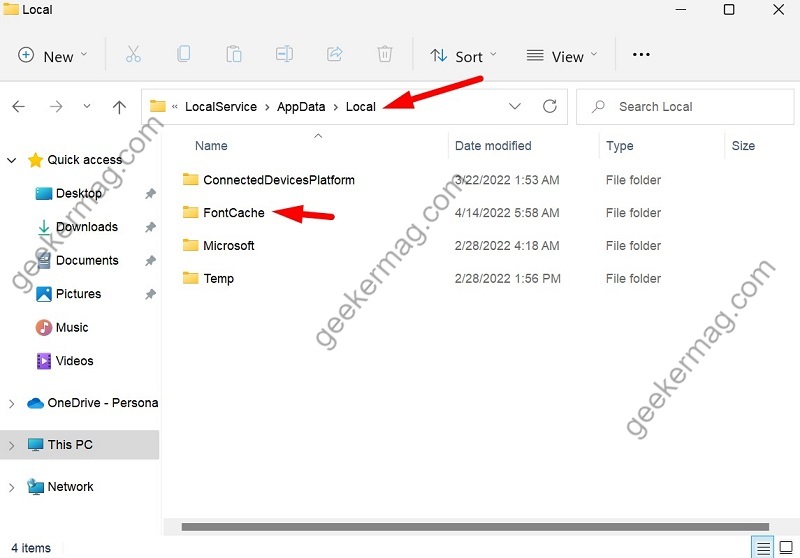
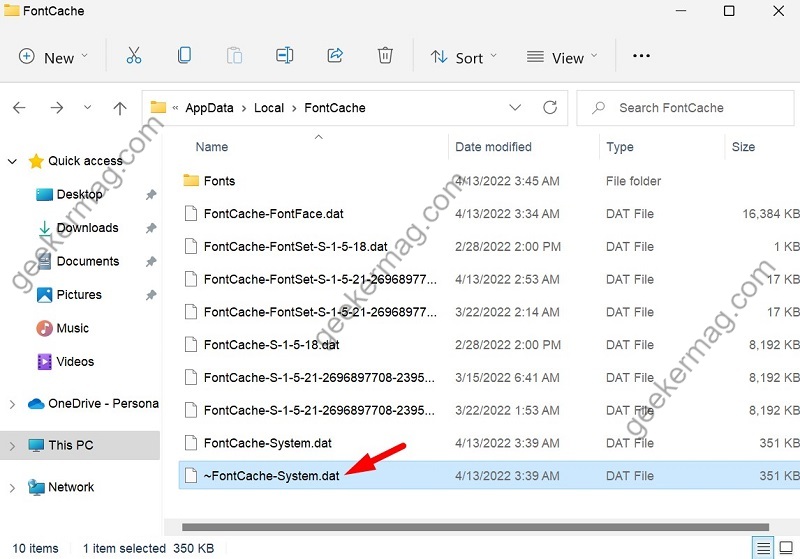
After that, launch Windows Explorer by pressing WIN + E and go to this path: C:\Windows\ServiceProfiles\LocalService\AppData\Local
Note – Unhide hidden items in Windows 11. For that, click on (…) and then View > Show > Hidden items, otherwise you will not find the AppData folder.
Also, if you get an error message, then manually open each folder and click on click on Continue if it is asking permission for any folder.
In the Local folder, you need to click the FontCache folder and delete all the files starting with ~FontCache~.
Once done, restart your computer.
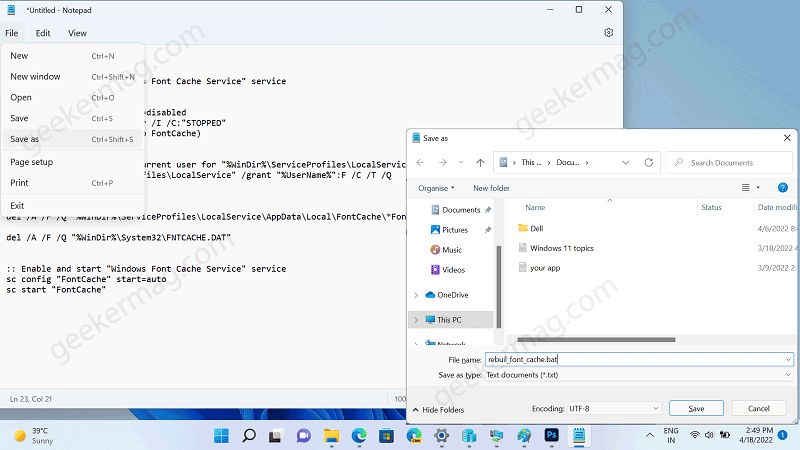
Alternatively, you can use create a bat file to clear the font cache by making a single click. For that, open Notepad and paste following code:
After that, click on the File > Save file as and name it rebuild_font_cache.bat. Make sure to save the file with .bat extension.
Once done, you need to right-click on the same bat file and run it as administrator.
Let the script do its work.
After doing this, the Font cache will be removed from Windows 11 and as a result, fix any issue associated with it.