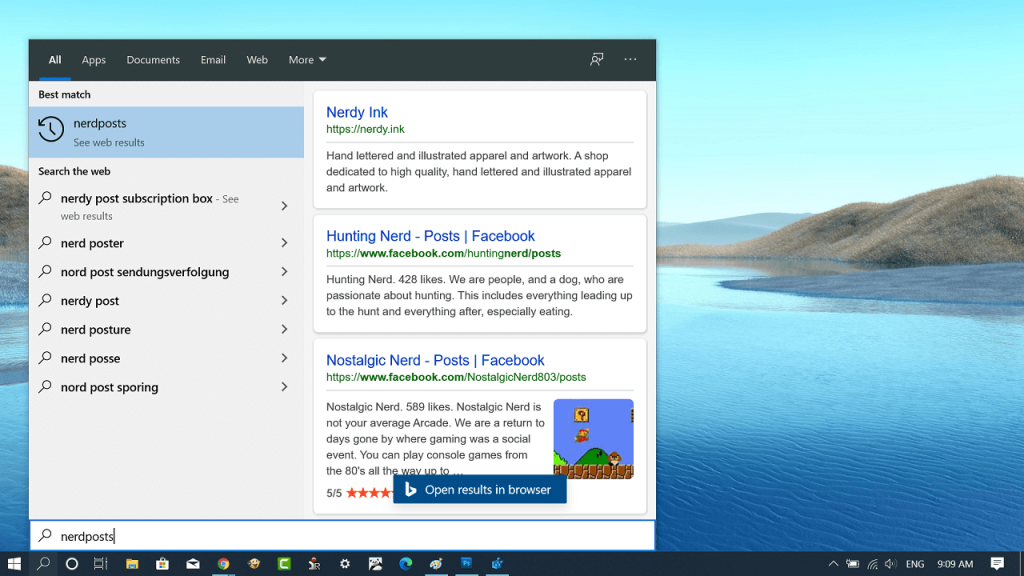
Whenever you type anything in Windows 10 start menu, it goes directly to Microsoft servers to offer you better results from Bing search. So its always recommended not to type personal information even in your own system Start menu. In the earlier version of Windows 10, it was possible for the users to disable the integration of Bing search in the start menu using a setting available in Group Policy editor for Windows 10 Pro. While Windows 10 Home users have to take the help of registry hack.
Disable Bing Search in Start Menu search of Windows 10 v2004
Starting with Windows 10 version 2004, group policy and registry hack are no longer working, but it’s not the end of the world. Fortunately, it is still possible to disable Bing in Windows 10 Start menu search bar.
Method One
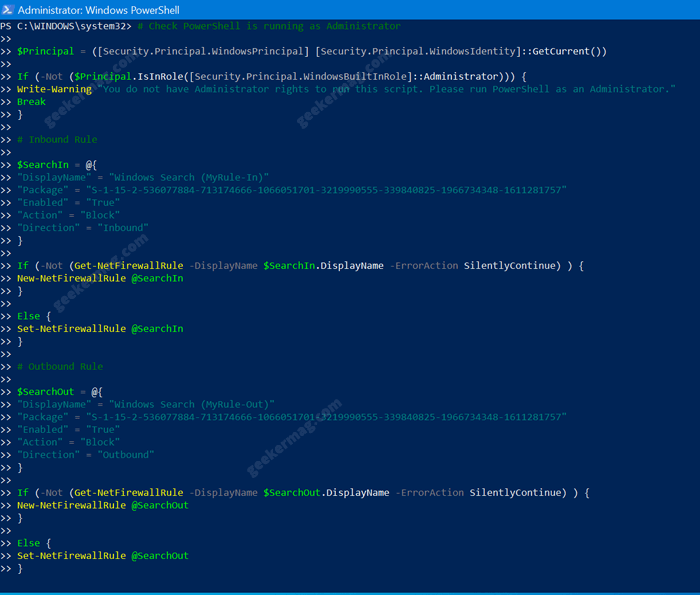
Launch the Elevated PowerShell window. For that, right-click on the Start button and select Windows PowerShell (admin), when UAC dialog appears, click Yes to continue. Next, copy-paste the following script created by @DefinitelyYou in the PowerShell window and hit enter. Wait for script to complete the work. $Principal = ([Security.Principal.WindowsPrincipal] [Security.Principal.WindowsIdentity]::GetCurrent()) If (-Not ($Principal.IsInRole([Security.Principal.WindowsBuiltInRole]::Administrator))) {Write-Warning “You do not have Administrator rights to run this script. Please run PowerShell as an Administrator.“Break}
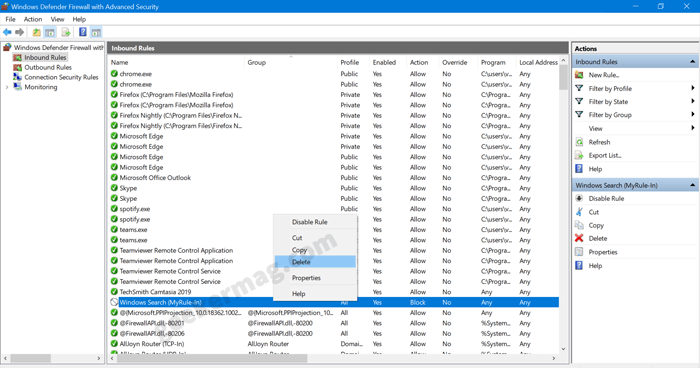
Inbound Rule
$SearchIn = @{“DisplayName” = “Windows Search (MyRule-In)““Package” = “S-1-15-2-536077884-713174666-1066051701-3219990555-339840825-1966734348-1611281757"“Enabled” = “True"“Action” = “Block"“Direction” = “Inbound”} If (-Not (Get-NetFirewallRule -DisplayName $SearchIn.DisplayName -ErrorAction SilentlyContinue) ) {New-NetFirewallRule @SearchIn} Else {Set-NetFirewallRule @SearchIn}
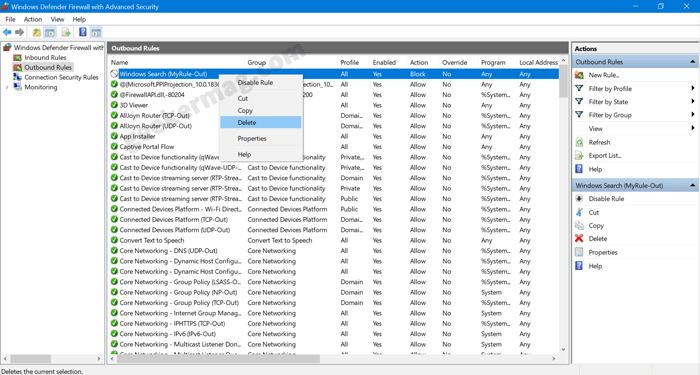
Outbound Rule
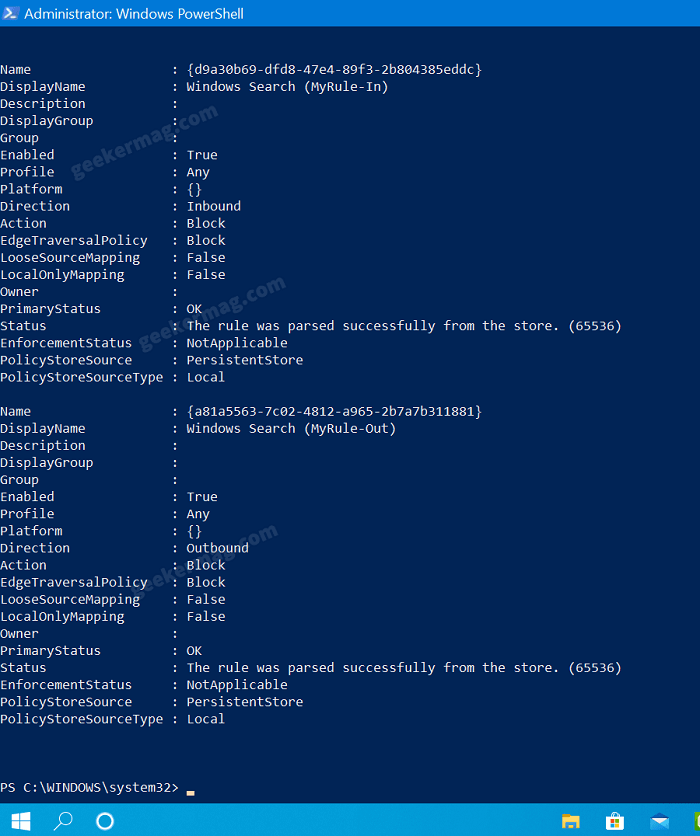
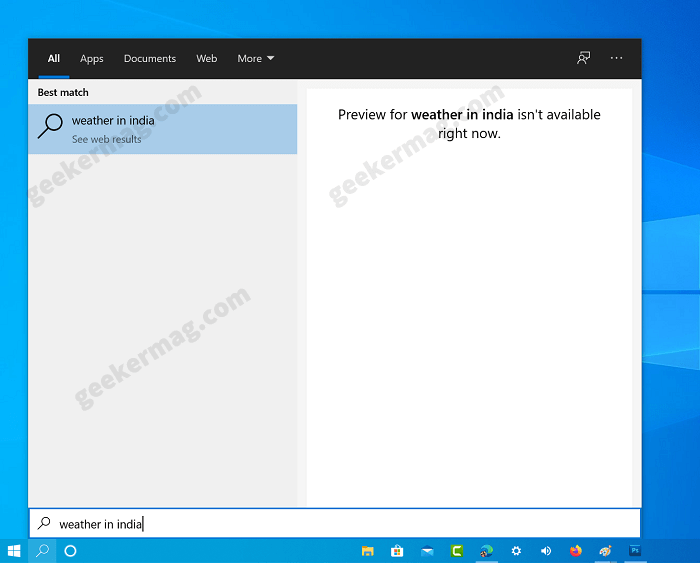
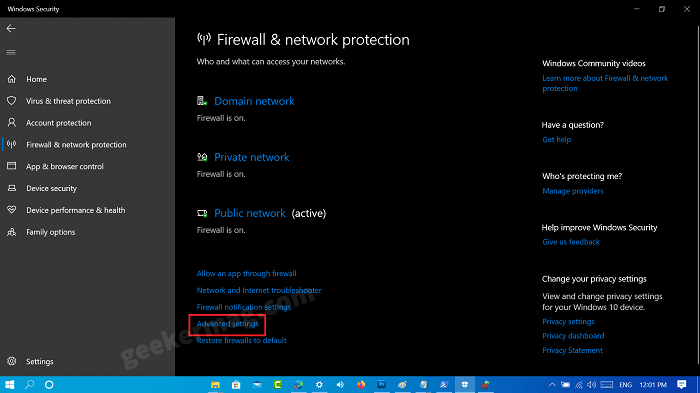
$SearchOut = @{“DisplayName” = “Windows Search (MyRule-Out)““Package” = “S-1-15-2-536077884-713174666-1066051701-3219990555-339840825-1966734348-1611281757"“Enabled” = “True"“Action” = “Block"“Direction” = “Outbound”} If (-Not (Get-NetFirewallRule -DisplayName $SearchOut.DisplayName -ErrorAction SilentlyContinue) ) {New-NetFirewallRule @SearchOut} Else {Set-NetFirewallRule @SearchOut} To update the changes, reboot your computer. After doing this, Windows 10 start menu will no longer search your queries from bing. Check the following screenshot: Disable rules to bring back bing in Windows 10 Search At any point, you want to bring back bing search in the Start menu, you need to follow these steps: Launch Windows 10 Settings app and go to Update & Security > Windows Security > Firewall & network protection > Advanced Settings (link at the bottom). When the UAC dialog box appears, click Yes to continue. Select the Inbound rule option on the left and then look for a rule called “Windows Search (MyRule-In)“, right-click and select Delete. After that, select the Outbound rule on the left and then look for a rule called “Windows Search (MyRule-Out)“, right-click and select Delete. Again reboot your computer to apply the changes. As simple as that.
Method 2
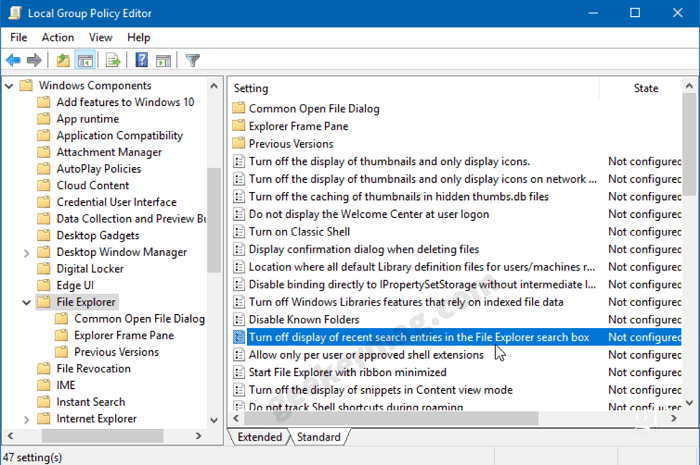
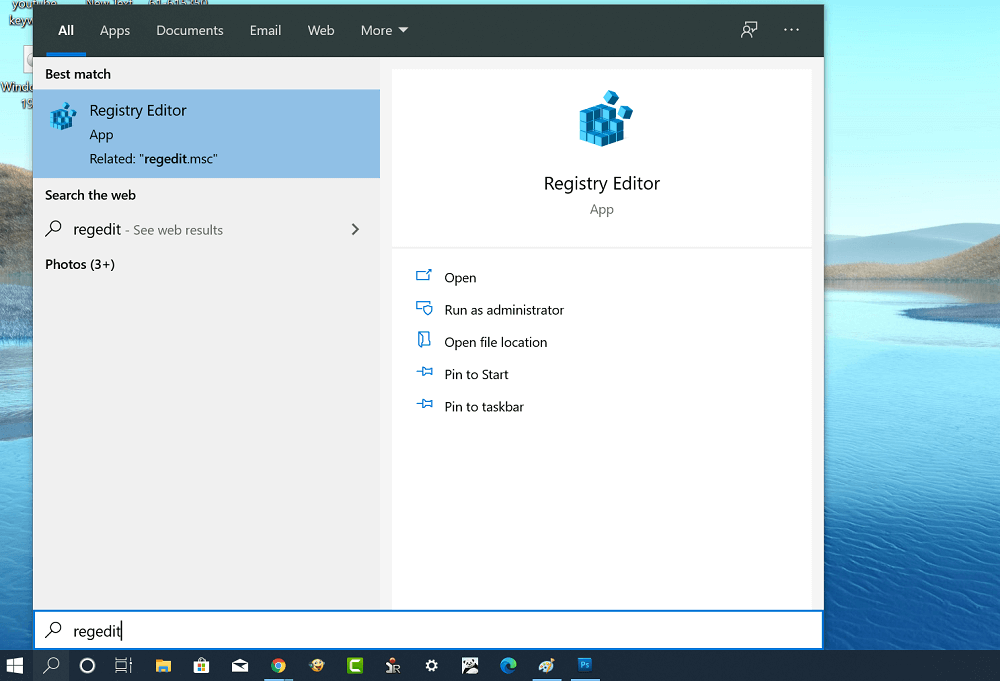
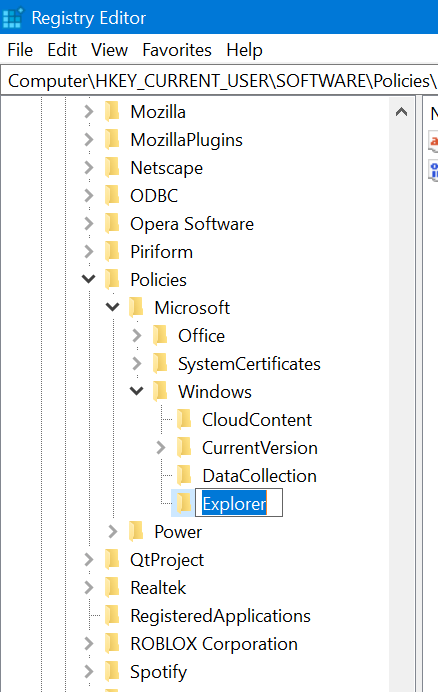
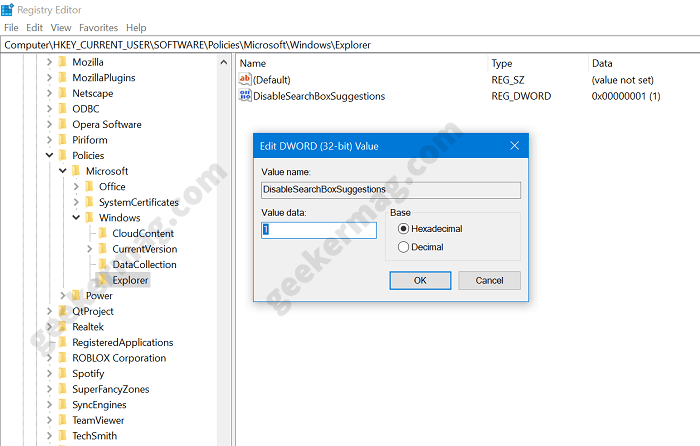
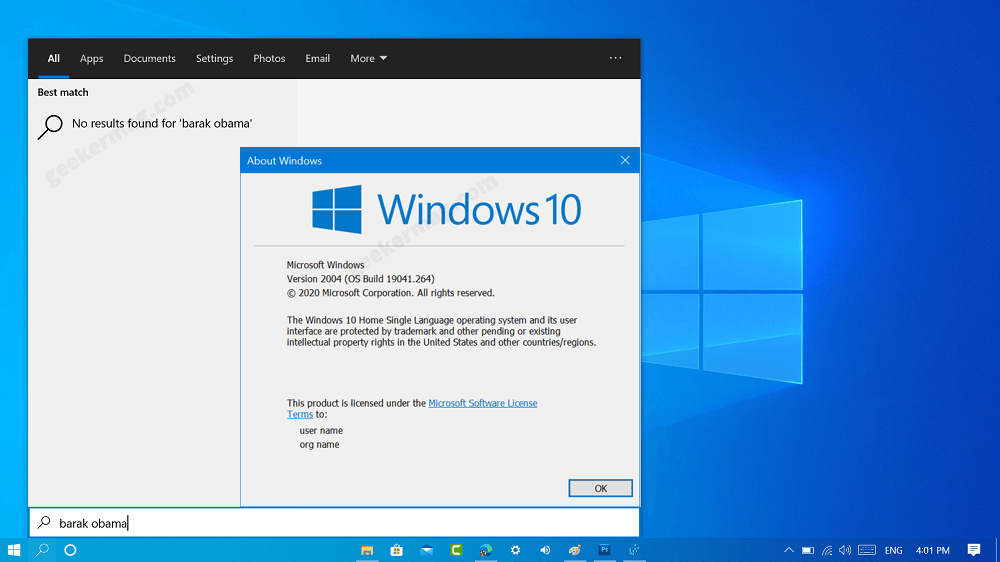
There’s another solution shared by Stack Exchange users to make that thing happen. If you’re interested, then here’s how you can do it: For Windows 10 Pro Edition In Windows 10 search menu search type gpedit.msc and when same appear in the search result, click to open it. Next, you need to navigate to: User Configuration/Administrative Templates/Windows Components/File Explorer/ On the right side, look for group policy which reads “Turn off display of recent search entries in the File Explorer search box“ Double click to launch the same policy window, select Enabled and then click OK. After that, you need to close Group policy editor and reboot your computer to apply the changes. Windows 10 Home Edition Launch Registry Editor. For that, type ‘regedit‘ in the start menu search bar, and when the shortcut for the same appears in the search result, click to open it. Click Yes, if the UAC dialog box comes up. Next, you need to head over to the following key: HKEY_CURRENT_USER\SOFTWARE\Policies\Microsoft\Windows\Explorer In case, Explorer key is missing, then create one manually. For that, right-click on the Windows > New > Key and name it Explorer On the right pane, you need to right-click, from the menu select New > DWORD (32-bit) value and name it DisableSearchBoxSuggestions Double click on it and ensure that its Value Data is 1. Click OK to continue. Now close the Registry editor and then Reboot your computer to apply the changes. From now onwards, if you type anything in the start menu search bar, you will only see local results. Also, this will remove search the web entry from start menu search. At any point, you want to integrate Bing search with Start menu, then all you have to do is to undo the above steps or set Value data for DisableSearchBoxSuggestions to 1 and set the above-discussed group policy to Not configured. You can check out this video for step by step instructions: If you face any issues related to this registry hack or it’s not working for you, then don’t hesitate to contact us via comments. Related reading – How to Make Windows 10 Start Menu Search use Google Search