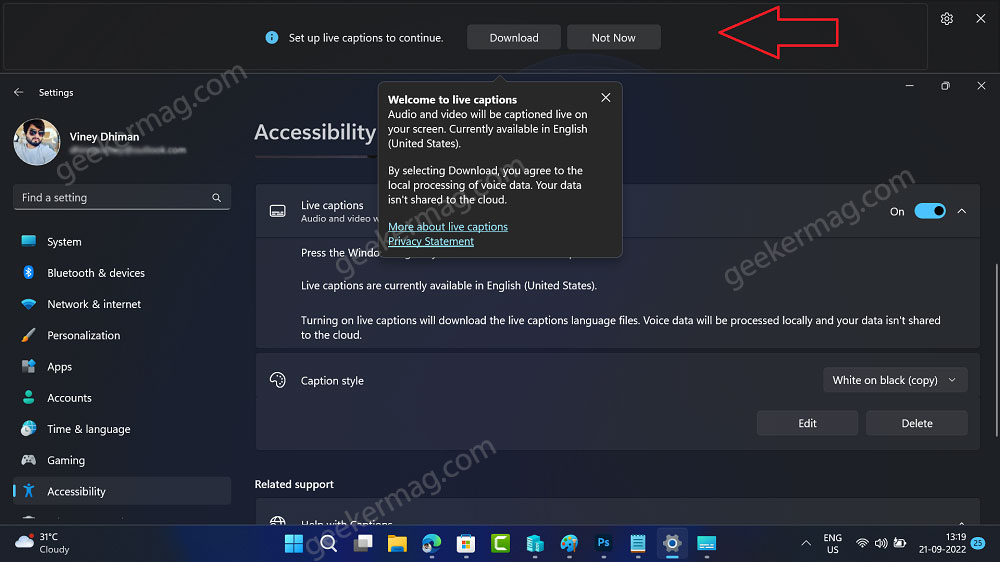
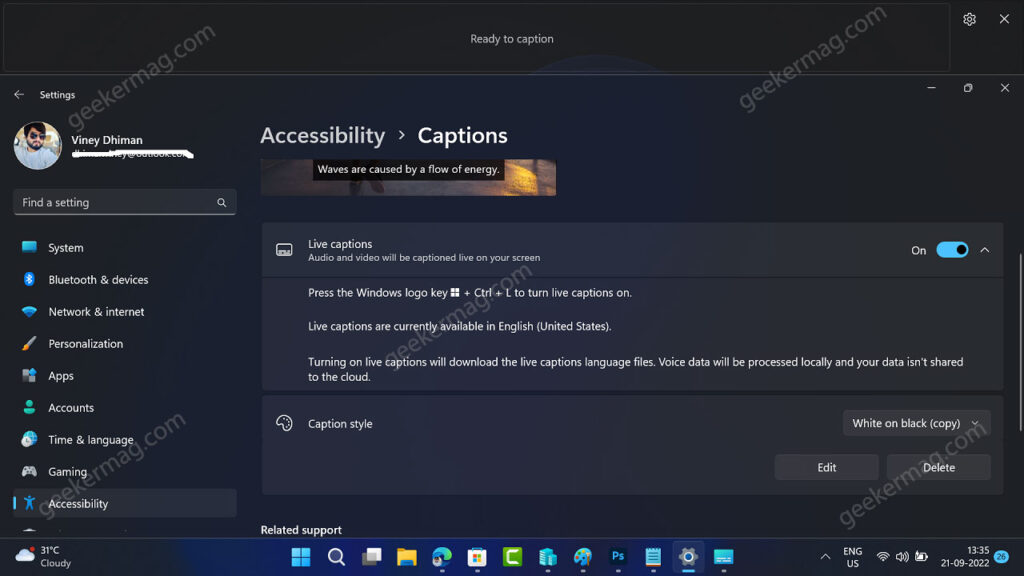
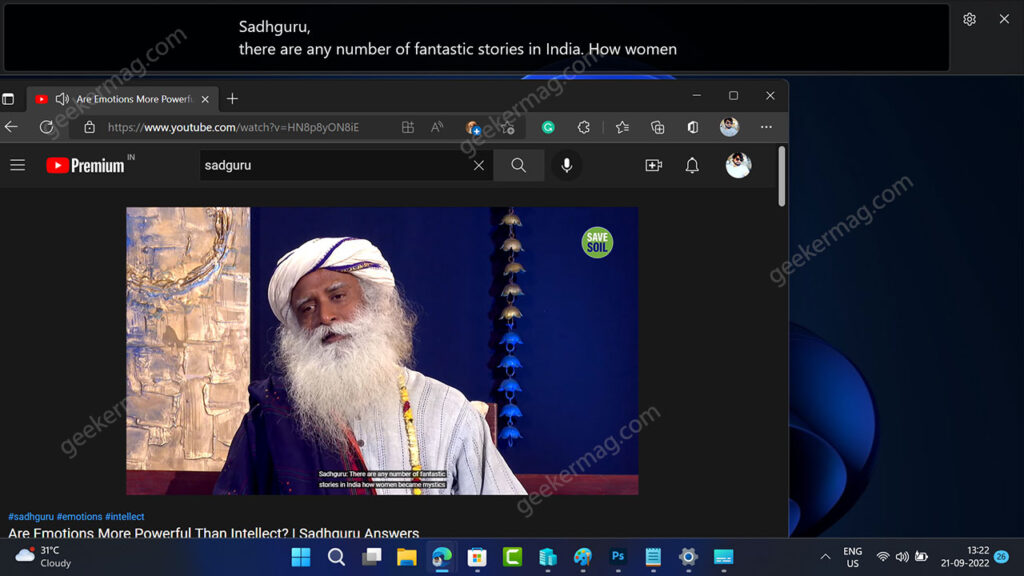
Live Captions feature converts the content of audio or any media file containing audio playing on your PC to a text file that appears on the dedicated box. All the voice data conversion is done right on your PC when it’s connected to the internet. Popular browsers likes, Chrome, Edge, and others already have this feature and finally, Microsoft has added Live captions in Windows 11 as well. The purpose is to make it easier for the users to under audio better by viewing captions. How to Enable and Use Live Captions on Windows 11 As of now, the Live Captions feature in Windows 11 only supports English (U.S content). In case, you’re running Windows 11 22H2, then here’s how you can turn on Live captions features. Launch the Settings app in Windows 11 by pressing WIN + I key combination. Switch to the Accessibility tab on the left. On the right side, scroll down and select Captions. This will open a dedicated settings page for the Captions feature. Here, turn on the Live Captions option. If you’re doing this for the first time or using another language, you might see a dialog box at the top with the message “Set up live captions to continue“, and click the Download button. This will start setting up live captions for you. Basically, it’s downloading English United States language on your PC, as Live captions only support this language. Once all is done, you will see the Read to caption. After doing this, live captions for the media containing audio should start playing on the screen. Alternatively, you can also use the WIN + CTRL + L key combination to turn on the Live captions feature. Live Captions feature in action, check the screenshot below:
Change Caption Position in Windows 11
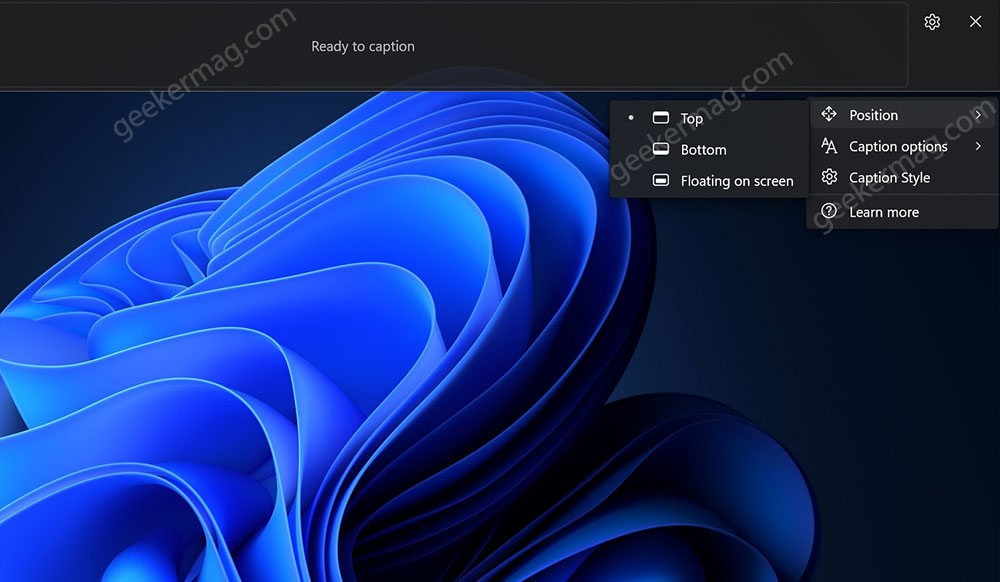
With default settings, the Caption window appears on the top of the screen but you can change its position as well. In the Caption box, click on the Settings icon available on the right side. From the menu, select Position. You can select either Top, Bottom, and Floating on the screen (which is moveable).
Manage Captions settings in Windows 11
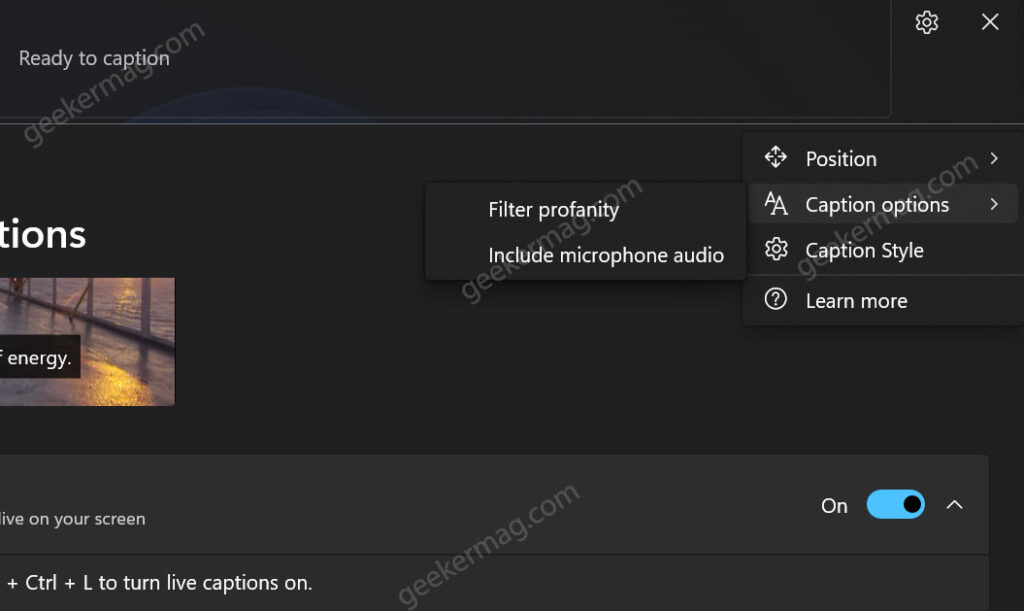
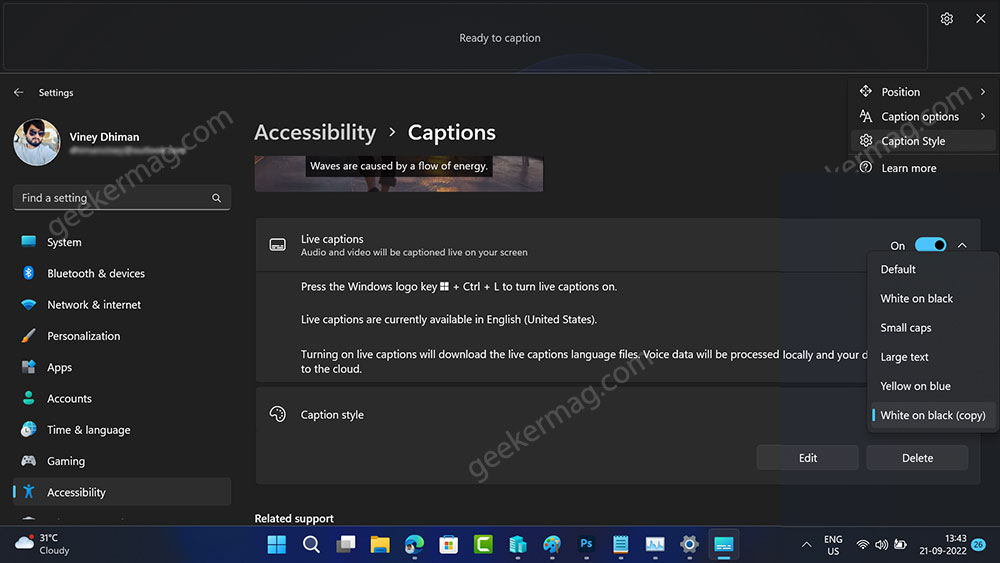
From the same Captions settings menu, you can manage other options as well which include: Caption options under which you can select FIlter profanity and Include microphone audio. Clicking Caption style will take you to Captions settings in the settings app. Using the Caption style drop-down select the one you prefer. As simple as that. Are you going to try the new Live Captions feature in Windows 11? Let us know your opinion in the comments.