Enable and Use the Night Shift in macOS 13 Ventura on Mac
Before going through the quick steps, let’s first understand what is Night Shift and why it is so important.
What is Night Shift and How Does It Work on Mac?
In order to safeguard your eyes against straining, Night Shift automatically transitions the colors of your display to the warmer end of the color spectrum after dark. As a result, your eyes feel more comfortable while viewing the screen. Hence, there is less chance of your eyes burning after long hours of work at night which could play a vital role in helping you get better sleep. Depending on your goal, you can choose to schedule the Night Shift on your Mac so that it will automatically get into action whenever you kickstart your work. Hence, you won’t need to remember and manually activate this feature whenever you need it. Notably, macOS also allows you to adjust the color temperature. Thus, you can choose to fine-tune the color temperature to be warmer or less warm.
What are the System Requirements for Night Shift?
It’s worth pointing out that Night Shift was introduced in macOS Sierra 10.12.14. Hence, your Mac must be running macOS Sierra or later to be able to get this neat feature. As for the hardware requirement, check out the supported models:
MacBook introduced in 2015 or later MacBook Air introduced in 2012 or later MacBook Pro introduced in 2012 or later
Mac mini introduced in 2012 or later Mac Studio introduced in 2022 iMac introduced in 2012 or later Mac Pro introduced in 2013 or later Apple Studio Display Apple Pro Display XDR Apple LED Cinema Display Apple Thunderbolt Display LG UltraFine 5K Display LG UltraFine 4K Display
Enable Night Shift on Mac to Protect Your Eyes
Though this guide has been written in accordance with macOS 13 Ventura, the steps for activating Night Mode on previous macOS versions are almost the same.
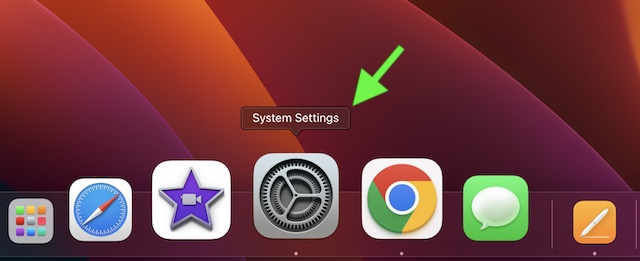
- First off, launch the System Settings app on your Mac. Or, clock on the Apple menu at the top left corner of the screen and choose System Settings.
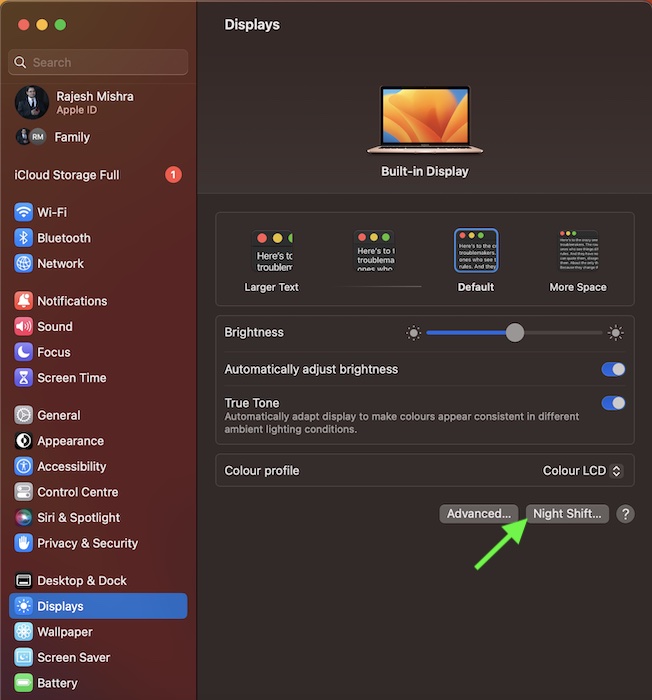
- In the Settings menu, scroll down and choose Display.
- Next, click on the Night Shift.
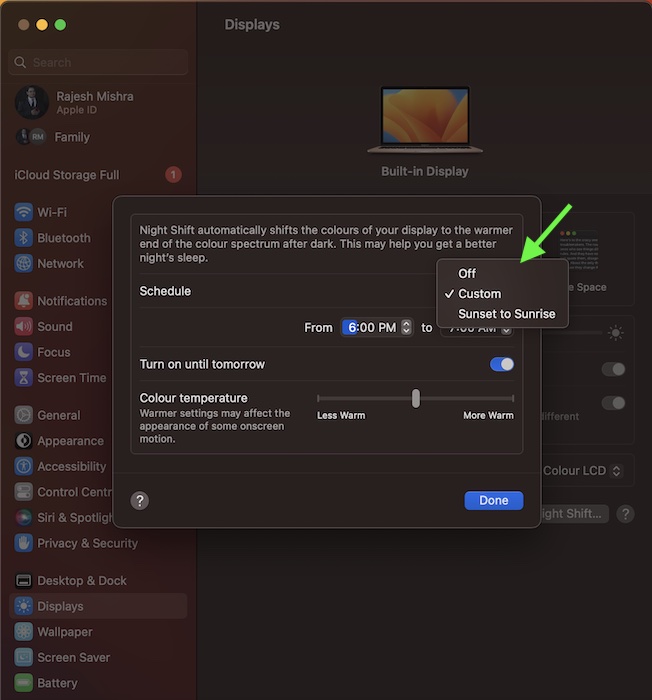
- Next, click on the drop-down menu next to Schedule. Then, you can automatically turn on the Night Shift from Sunset to Sunrise. If you want to choose the custom time, click on Custom in the menu and then select the preferred start and end time. Alternatively, you can also manually turn on the Night Shift until tomorrow.
- Once you have perfectly customized the Night Shift settings on your Mac, make sure to click on Done to confirm the action.
Wrapping Up…
So, that concludes this quick guide about using Night Shift on macOS. Now that you know how this important feature works, never fail to make the most of it to protect your precious eyes. Whether you moonlight to earn some extra bucks or prefer to sort out additional tasks at night, it can prove to be a great asset ensuring you don’t lose sleep after rigorous work. Enough talk, share your thoughts about it, and whether or not it’s going to be a handy tool in your armory. Read more: How to Export Freeform Document As PDF on Mac