Whatever network adapter you have installed on your personal computer, laptop, tablet or smartphone all of them has physical address named as “MAC Address.” Mac address means media access control address. It is an individual identifier attributed to all network interface for connection on the physical network segment. Sometimes situations occur when users want to know that what is my mac address and due to this reason start finding mac address in Windows 10. There are lots of users who’re not able to find mac address on Windows 10. So to help those users I decided to write this post.
How to Find Mac Address on Windows 10
In the post, you will find out all the possible ways on how to find Windows 10 Mac Address. So without further delay why don’t you start reading about them:
1. Find MAC Address in Windows 10 using Settings
- Press WIN + I keyboard keys to launch the Settings app -> Network & Internet.
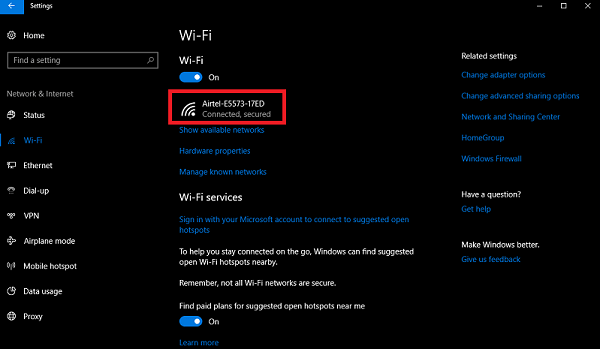
- Click on the Wifi tab if you want to know the Mac address for Wifi network adapter.
Or Click on Ethernet to know the Mac address for your Ethernet Adapter.
- Click on the name of the network to find out its properties. In my case it’s Ethernet.
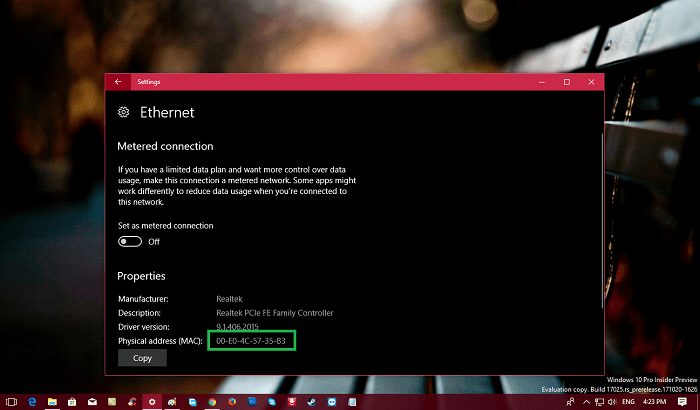
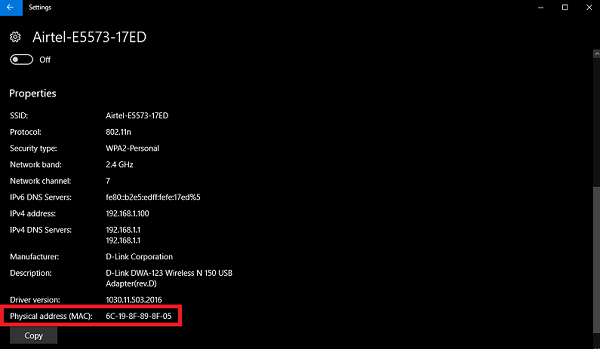
- On the next window look for the term named as a “Physical address(MAC).” On the right side of it, you will find out Mac value you’re looking for. For Wifi Adapter Mac Address
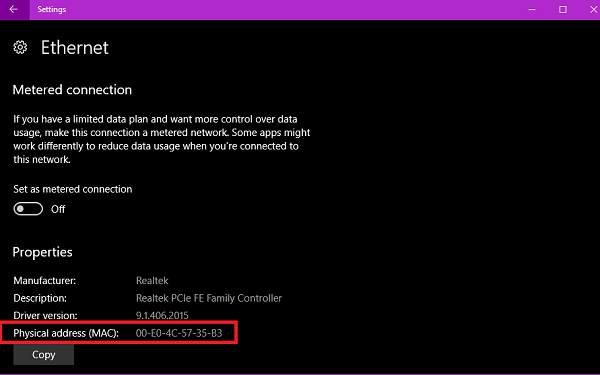
For Ethernet Adapter Mac Address
Check out the video tutorial on YouTube:
2. Find Windows 10 Mac Address using Command Prompt
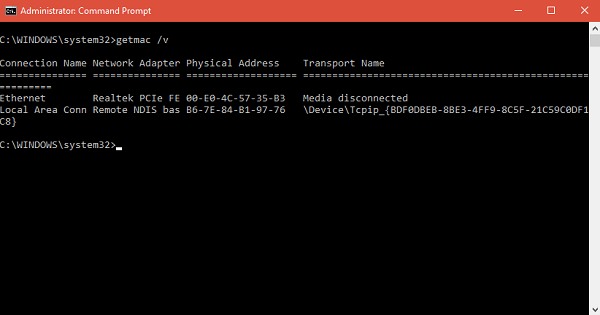
Run the elevated Command prompt in Windows 10. In the Command Prompt terminal type following code: And then press Enter.
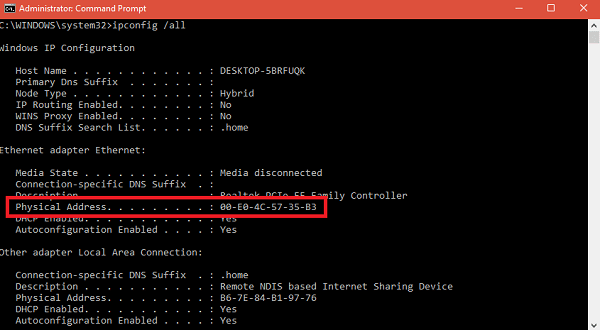
In no seconds the inbuilt getmac tool will show you the MAC address for your network adapter. The following screenshot is taken from PC having Ethernet. In case, you’re using Wifi you will see the different address. Alternatively, you can type ipconfig /all command in the Command Prompt to know the Mac Address. Here is how you get the Mac Address:
3. Find MAC Address in Windows 10 using Control Panel
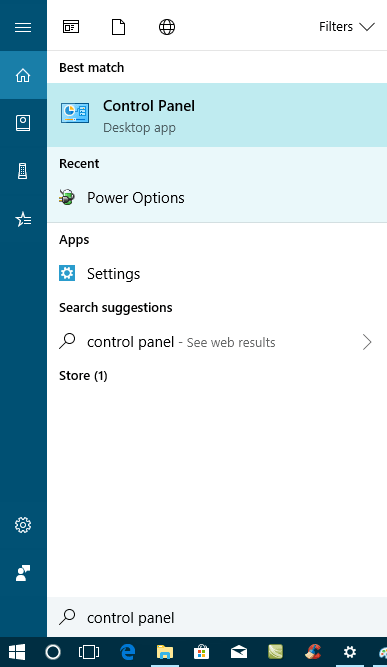
Search Control panel in Start menu search bar. When the Same application appears in the search result. Click to open it.
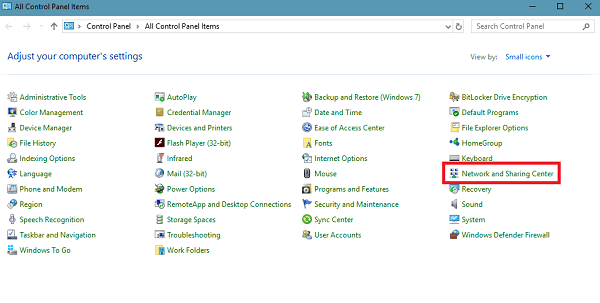
Here click on the “Network and Sharing Center.”
In this window, you need to click on “Change adapter settings” available on the left side of the screen.
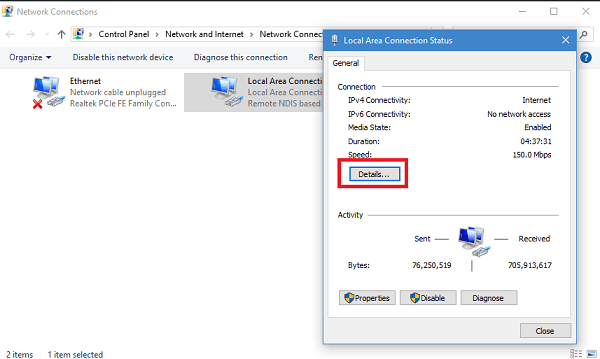
Here in this screen, you need to make double click on the network adapter of which you want to see the Mac address. When new window appear, click on the Details button.
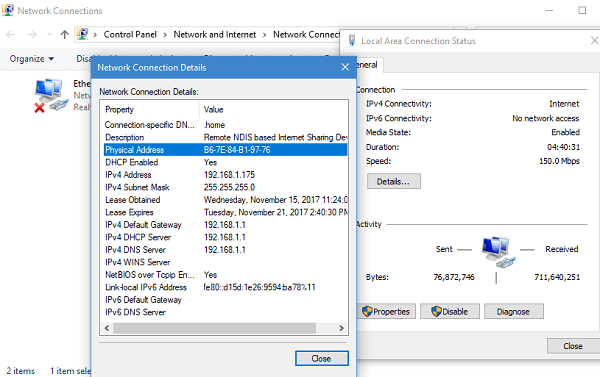
In this window, the “Physical Address” is referred to the Mac address for the particular network property.
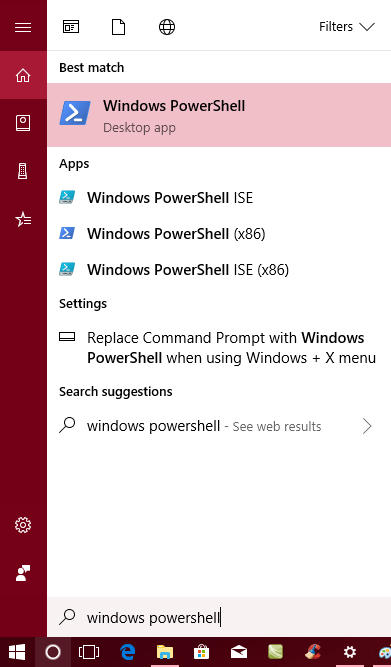
- Finding Mac Address in Windows 10 using PowerShell Launch Windows Powershell. For that, type Windows Powershell in the Start menu search bar and when the same application appear, click Yes to open it.
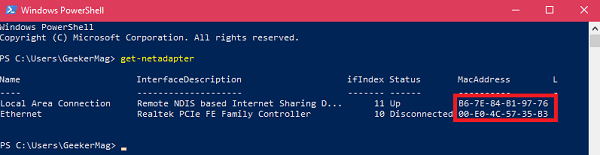
In the Windows Powershell terminal type following command: And then hit Enter.
In above screenshot, the highlighted part is the Mac address of particular network adapter. That’s it, guys. So these are four possible ways on how to find Mac Address on Windows 10. I hope you find useful.