Instead of using too many File Explorer windows, you can just use one and can have multiple tabs open. Sadly, the Windows 11 File Explorer Tabs is not showing for multiple users, and they are hunting for solutions in several forums. If you are also facing the same issues check out the guide below for easy workarounds.
Fix File Explorer Tabs Not Working in Windows 11
The File Explorer Tabs feature has quite a positive response. Users are loving it, and according to most of them, the feature is a stable without any issues. However, if you are one of the select few users for whom the File Explorer Tabs is not showing, you need to fix it using effective troubleshooting methods.
1. Make Sure 22H2 Update is Installed
Initially, you must ensure that the Windows 11 22H2 update is installed on your computer. The Tab feature in File Manager was a part of Microsoft’s 22H2 release. Otherwise, File Explorer Tabs won’t show even if you use Windows 11. Follow the step-by-step guide below to install the 22H2 update.
- Press Win + I on the keyboard to launch Windows Settings.
- Click Windows Update.
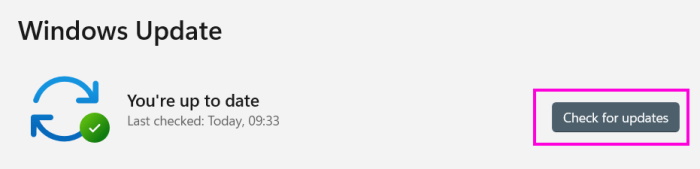
- After that, click the Check for updates button.
- Windows will check for available updates. After it locates the available updates (22H2), you will get the Download & Install option.
- Click on the option to download and install the update. After installing the 22H2 update, you should see Tabs in File Explorer. If you still don’t see the tabs, be sure to follow the next troubleshooting procedure.
2. Restart the Computer
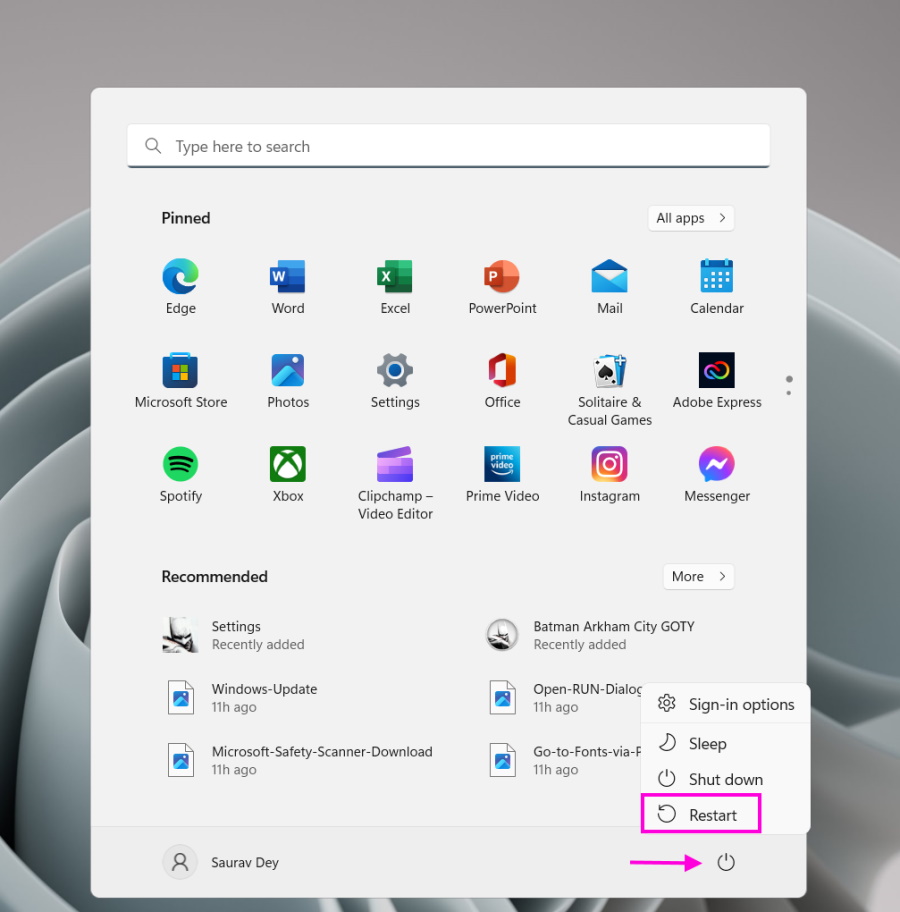
If Windows 11 22H2 File Explorer Tabs are still not Showing even after installing the 22H2 update, you need to troubleshoot the problem. It is best to start with the simplest solution: restart the computer. Most of the time, restarting the computer fixes multiple problems. Restarting will fix if the tabs are not appearing due to a simple glitch. So, go ahead, and click the Power button on the Start Menu. Choose the Restart option. After the computer restarts, you should see tabs in File Explorer.
3. Restart File Explorer
If the computer restart didn’t work and Windows 11 22H2 File Explorer tabs are still unavailable, you need to restart File Explorer. The problem could be caused by a temporary glitch that can make File Explorer unresponsive, and some features may not even work properly. All these could be fixed by stopping and restarting File Explorer.
- Launch Task Manager by pressing Ctrl + Alt + Del or Ctrl + Shift + Esc.
- Alternatively, right-click the Taskbar and select Task Manager.
- On the Task Manager window, select File Explorer and click the End Task button.
- After that, close Task Manager and restart File Explorer.
4. Clear File Explorer Cache
Every programs stores cache files locally to perform efficiently. But these cache files get corrupted over time and can become a roadblock to the app’s performance. The same can happen with File Explorer on Windows 11. So, we recommend clearing the cache to fix Windows 11 22H2 no File Explorer Tabs problem.
- Open the Start Menu.
- Type File Explorer Options. Select the top result.
- In the dialogue box, select the General tab.
- Navigate to the Privacy section.
- Click Clear.
- After that, confirm your command by clicking OK. Doing this will remove all the File Explorer cache files.
5. Run SFC Scan
You can also run an SFC scan when Windows 11 22H2 File Explorer Tabs not available. SFC stands for System File Checker. It is a built-in program that detects and fixes issues with the Windows OS. A very convenient tool if you are dealing with a complicated issue. Just initiate the scan. Sit back and relax, it will fix everything.
- Press Win + R and launch the RUN dialogue box.
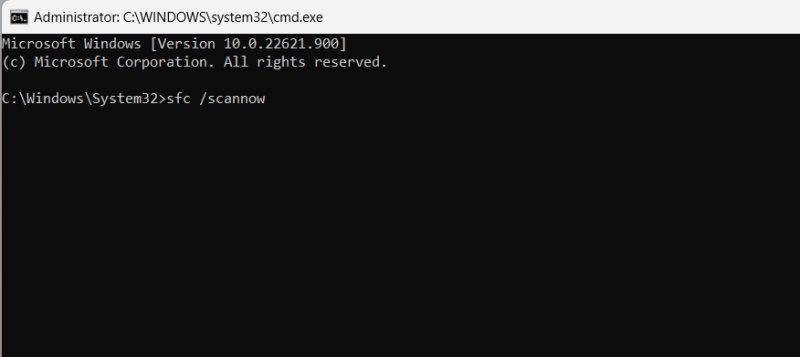
- Type cmd in the box and press Ctrl + Shift + Enter to launch Command Prompt with launch with Administrator rights.
- Type sfc/scannow and hit Enter. The scan will be initiated. Let the scan run its course. After the scan is finished, restart the computer.
6. Use ViveTool to Enable Tabs in File Explorer
If Windows 11 File Explorer Tabs are still not showing up on your computer, you can use ViveTool to rectify the issue. The ViveTool is a third-party program. It is safe to use, and it can enable specific Windows functions on your computer without any specific requirements. 1. Download ViveTool from the GitHub page. 2. Click the download link to get a ZIP file. 3. You need to extract the contents of this ZIP folder into a new folder. Name this folder the same as the ZIP file. 4. After that, right-click on the renamed folder and select the Copy as Path option from the drop menu. The path of the folder will be saved in the clipboard. 5. Launch Command Prompt with Administrator rights. 6. Open the Start Menu. 7. Type command prompt. 8. Highlight Command Prompt in the search results and choose Run as Administrator on the right. 9. Type cd and add a space in the CMD window. After that, paste the copied directory path and hit Enter. 10. After that, you have to run another command. run the following command. 11. There is another command to run for enabling the SV2Navpane in File Explorer. It’s a navigation pane. 12. Finally, execute the following command, and you are done. 13. After executing the commands, close the Command Prompt window and restart your computer. Doing so will enable the File Explorer Tabs on your computer.
7. Troubleshoot With Windows Update Standalone Installer
This one is out of the box, but it definitely works. A lot of users were complaining on the Microsoft forum about the File Explorer Tabs not showing up the problem. A few of the self-proclaimed Windows experts responded and tried to provide solutions. Most of them didn’t work. But one such user provided a link for the Standalone Windows Update Installer. If you click this link, an approximately 250MB file will download on your computer. Double-click the link to initiate the installer. This update installer will install the update your Windows 11 is lacking; afterward, you will be able to use Tab in File Explorer.
8. Remove Windows Updates and Install Again
Tab in File Explorer wasn’t part of Windows 11 initially. It was added later with the 22H2 updates. So, If the File Explorer Tabs are causing trouble, you can remove the latest Windows updates from your computer and install them later after restarting the computer. 1. Launch Windows Settings by pressing the Win + I keys on the keyboard. 2. Click Windows Updates. 3. After that, click Update History on the right side. 4. Scroll down the list of updates and click the Uninstall updates option. This method works only for recent updates. So, if you have installed the 22H2 update recently, only then can you remove the update using this procedure.
How Do I Fix File Explorer Stopped Working?
A lot of reasons can cause File Explorer to stop working. It could be anything from a corrupted or outdated video driver to a malware issue. The system files on your computer could also be corrupt or misplaced. So, it can be one of a hundred reasons. We recommend giving your computer a restart, File Explorer may start working again.
How to Use File Explorer Tabs?
It’s easy. Click the + (Plus) icon just beside the opened tab to add a new tab. Alternatively, you can press Ctrl + T to launch new tabs in File Explorer.
Troubleshoot and Enjoy File Explorer Tabs
File Explorer Tabs is a convenient feature, and the users responded positively to this new addition. However, some users are disappointed as Windows 11 File Explorer Tabs are not showing on their computers even after installing the 22H2 update. There hasn’t been any official response from Microsoft yet. In the meantime you can check our troubleshooting guide, it will help you to fix the File Explorer Tabs not working problem on Windows 11 PC. Also Read: How to Enable and Use Tabs in File Explorer on Windows 11