What Causes PAGE_FAULT_IN_NONPAGED_AREA Error?
The PAGE_FAULT_IN_NONPAGED_AREA error usually occurs when an application or hardware component utilizes the system allocated memory. Another case is when Windows becomes incompetent to access a particular page needed to complete a process. There could be several more causes of the PAGE_FAULT_IN_NONPAGED_AREA BSOD error and we have listed a few of them below.
Third-Party Antivirus Program Faulty Drivers Third-Party Applications or Software Disk Issue Faulty Hardware Memory Problems Pending Updates Corrupted System Files
Fix PAGE_FAULT_IN_NONPAGED_AREA BSOD Error in Windows 11/10
There are several tried and tested solutions to fix the PAGE_FAULT_IN_NONPAGED_AREA error code. We have mentioned more than ten solutions that you can try to eliminate the error.
1. Use Reliability Monitor to Find the Root Cause
Windows comes with an amazing tool called Reliability Monitor, and not many users have discovered it. Reliability Monitor lets you quickly view the stability of your Windows PC, including errors, warnings, and crashes. It also reports the root cause of all the errors and crashes and makes. You can use the Reliability Monitor tool to find the main reason behind the error. Start the process by implementing the below-mentioned steps on your Windows PC.
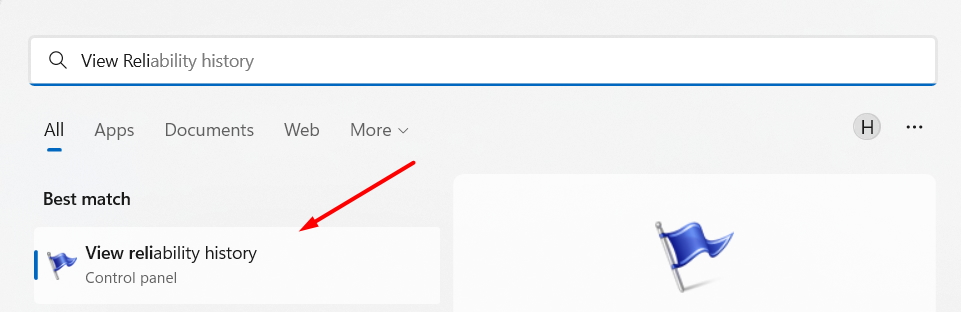
- Press the Windows key.
- Type View Reliability History in the Search Bar and open the View reliability history tool.
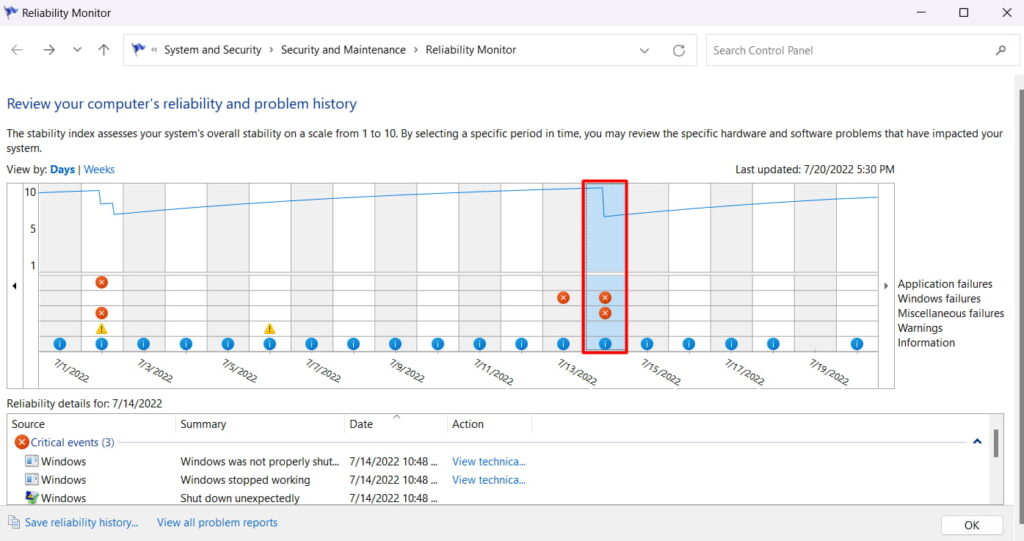
- Click on the Date matching your crash date mentioned on the graph. For instance, if the BSOD error appeared on 7/14/2022. Click on 7/14/2022 appearing on the x-axis of the graph. Note: You must now remember the date of the crash to find that particular crash on the graph easily.
- Look for Critical Events in the Sources section.
- You can now see that particular crash along with the date and time. Double click on the crash or click View technical details.
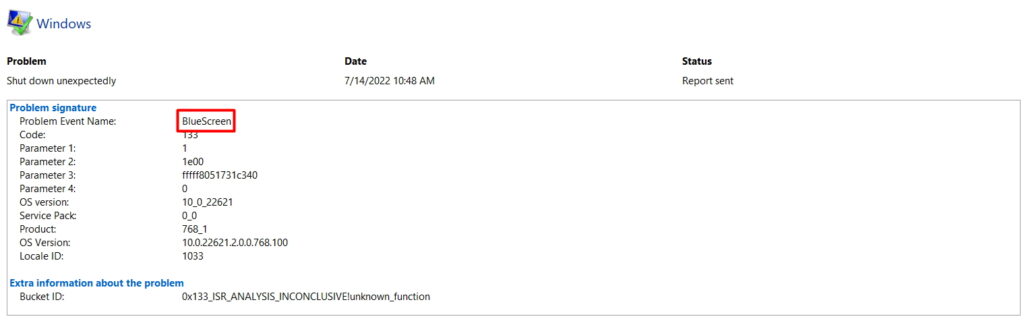
- On the next screen, you will find all information regarding the crash, along with the cause of the crash. If the source of the error is a third-party application, you can find and uninstall the application. If it isn’t related to an application, you can search for the cause on the web and look for solutions.
2. Check For RAM Sticks
The PAGE_FAULT_IN_NONPAGED_AREA error code is associated with the system’s memory. There is a high possibility that your RAM sticks are defective, eventually causing the issue. We will suggest you to clean and inspect your RAM sticks to make sure they are in perfect condition. You can follow the mentioned process to clean your RAM sticks easily.
- Start the process by shutting down your PC.
- Remove the power cable attached to your PC.
- Once this is done, you can start opening your CPU cabinet.
- Remove the RAM sticks from the slots carefully.
- Put them on a clean surface and avoid dust around them.
- First, clean the contact of the RAM sticks with a dry cloth.
- Then, clean them with a little damp cloth to remove all dust particles.
- Insert the RAM sticks again to their respective slots.
- Once this is done, attach the power cord and restart the PC.
3. Install Pending Updates
Installing the pending Windows updates is one of the ways to get rid of the PAGE_FAULT_IN_NONPAGED_AREA BSOD error. It could be possible that Microsoft has already released an update with a fix, and you haven’t installed it yet. So, try updating your Windows 11/10 PC in the manner mentioned below.
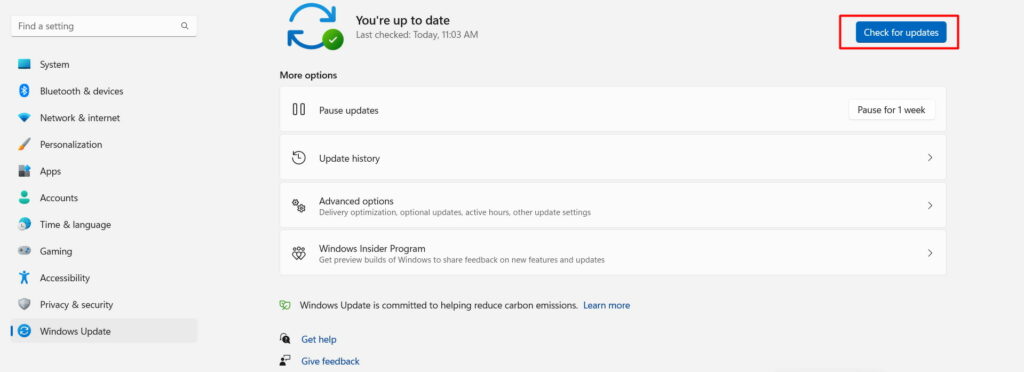
Install Pending Updates on Windows 11
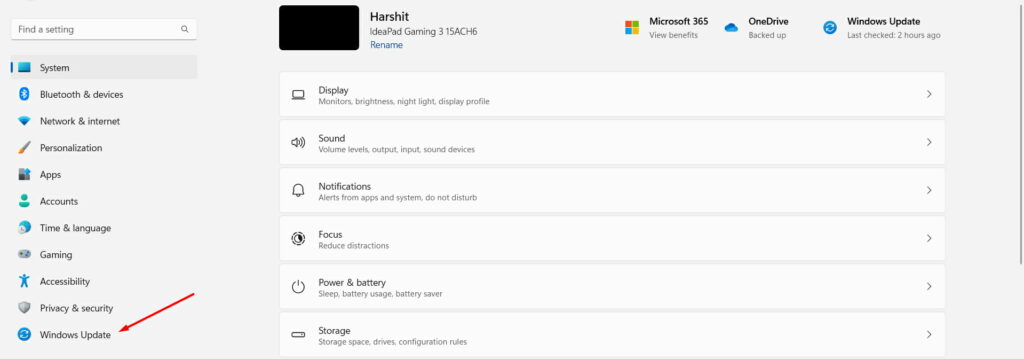
- Press Win + I to open Settings.
- Head to the Windows Update section from the left panel.
- Click on the Check for updates button to check for new updates.
- If you see new updates on the screen, download and install them.
Install Pending Updates on Windows 10
- Open Settings on Windows 10 by pressing Win + I.
- Select Update & Security.
- Then, head to the Windows Update section.
- Click Check for updates to let the system scan for new and pending updates.
- If you see some new and pending updates after the scan, click on the Download button.
- Once the updates are downloaded, click on the Restart button next to the update.
4. Disable Antivirus Software
We all use antivirus programs on our Windows PC to prevent malware and viruses from harming our devices. Yet, sometimes the antivirus software interferes with the system processes and results in crashes. In that case, we recommend temporarily disabling the antivirus software once to check if the issue has disappeared. If the issue doesn’t resolve, you can enable the program again to activate all the security shields again and protect your device from malware and viruses.
5. Run Windows Update Troubleshooter
Microsoft regularly releases new updates for all versions of Windows, including Windows 11 and 10. There is a possibility that the new update has some bugs and caused this error. Sometimes the error appears after installing the new updates. While sometimes, it occurs during the installation process. The timing of the error can vary in your case. Fortunately, the error caused by the Windows Updates can be fixed using the Windows Update Troubleshooter tool. Below are the steps to use the Windows Update Troubleshooter tool.
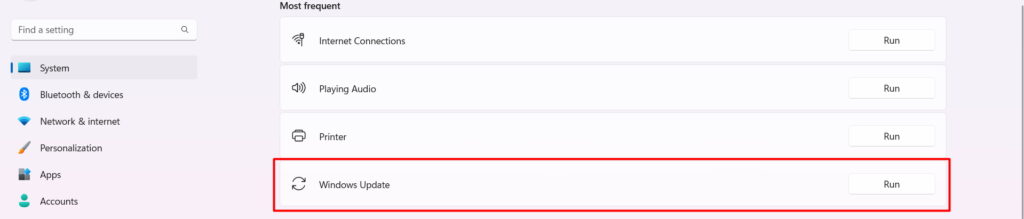
Run the Windows Update Troubleshooter tool in Windows 11
- Open the Windows Settings by pressing Win + I.
- Scroll down and select Troubleshoot.
- Select Other troubleshooters.
- Look for Windows Update in the Most frequent section.
- Click on the Run button next to the Windows Update Troubleshooter.
- Follow the on-screen instructions to continue the troubleshooting process.
Run the Windows Update Troubleshooter Tool in Windows 10
- Select the Start button.
- Click on the Settings icon to open the Settings window.
- Select Update & Security and move to the Windows Update section.
- Click on the Run the troubleshooter button.
- Follow the on-screen steps to continue the troubleshooting process on your Windows 10 system.
6. Run Windows Hardware Troubleshooter
Many users reported that sometimes the error appears because of a faulty hardware device. It could be possible that there is a problem with hardware components attached to your PC. You can look for hardware issues using the Windows Hardware Troubleshooter. The below-mentioned steps show the same.
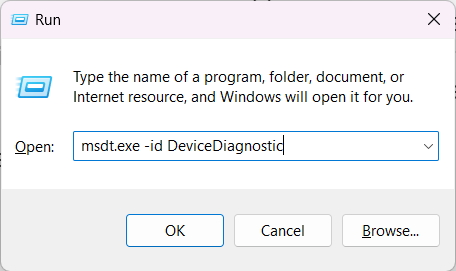
- Press Win + R to open the Run window.
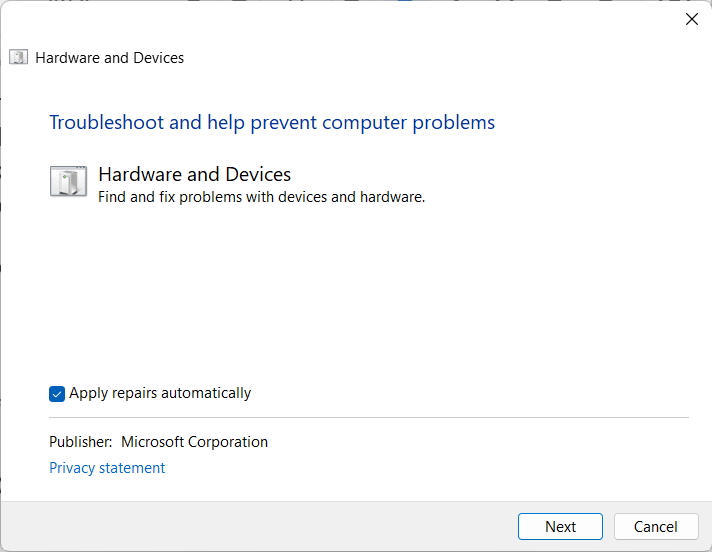
- Type msdt.exe -id DeviceDiagnostic to open the Hardware and Devices troubleshooter.
- Click Advanced and check the Apply repair automatically checkbox.
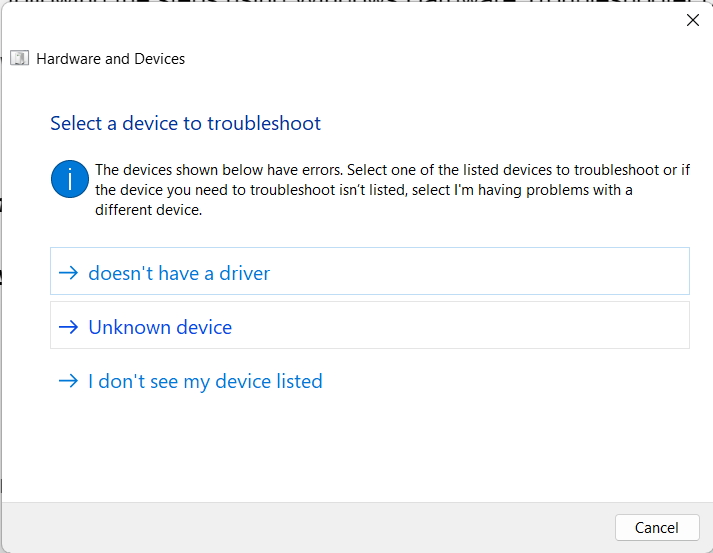
- On Select a device to troubleshoot window, select Unknown device.
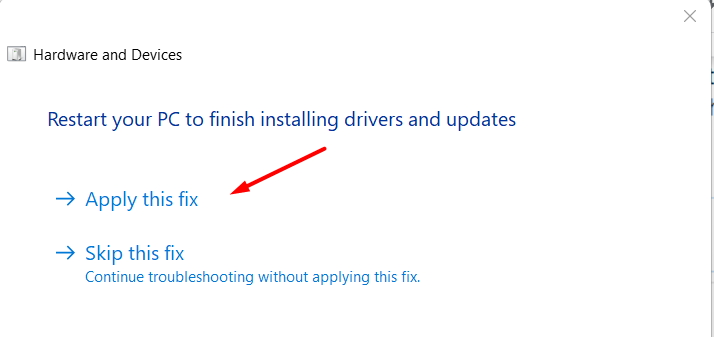
- Wait until the scan completes and the system reports all the errors on the screen in a dialogue box.
- Lastly, select Apply this fix.
7. Disable Automatic Management of Paging File Size
Every Windows PC comes with virtual memory that helps the system perform essential tasks smoothly by reducing the workload of the RAM. Windows timely adjusts the virtual memory according to the requirements. But sometimes, it starts causing errors. You need to disable the Automatic Management of Paging File Size to fix the issue. Follow along the below steps to do so.
- Log in to your Windows PC using an administrative account.
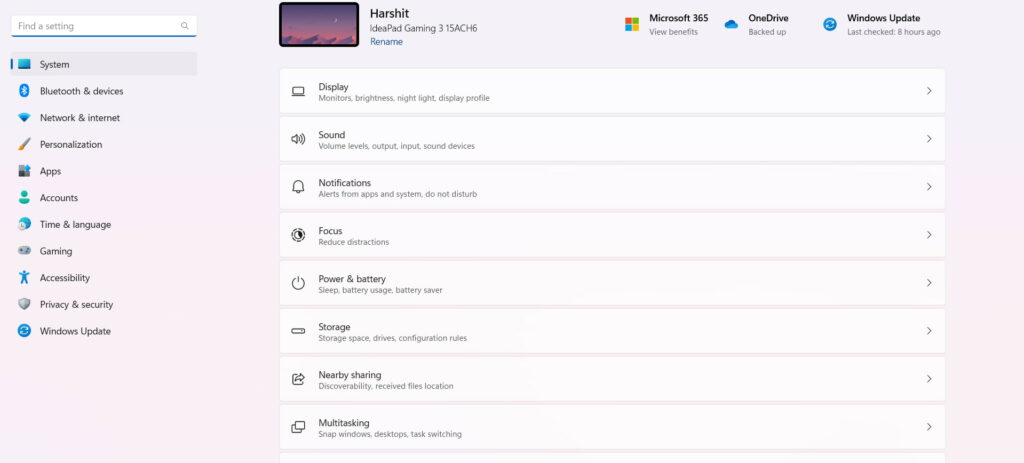
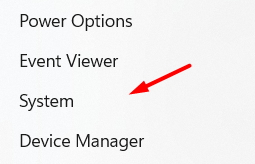
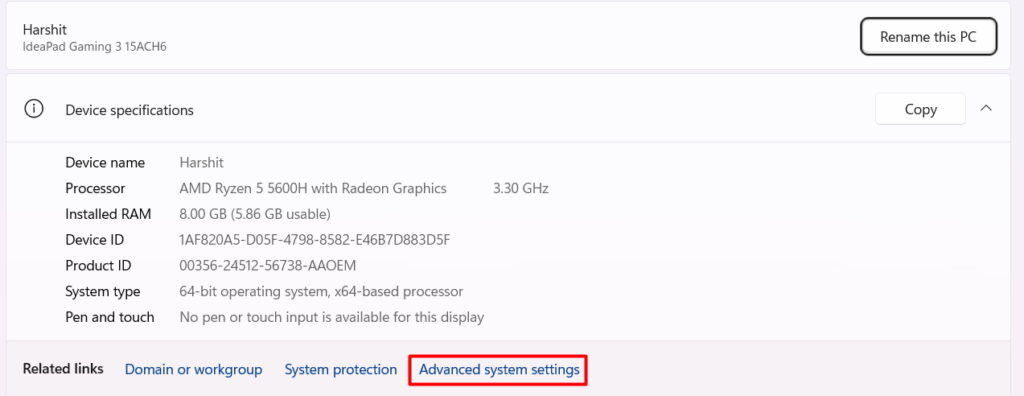
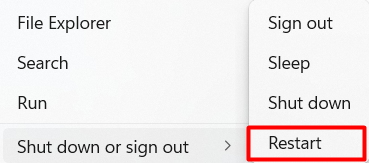
- Right-click on the Start button and select System from the pop-up.
- Then, click Advanced system settings.
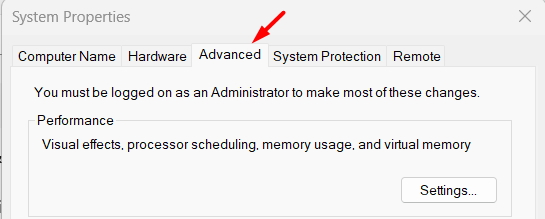
- Head to the Advanced tab.
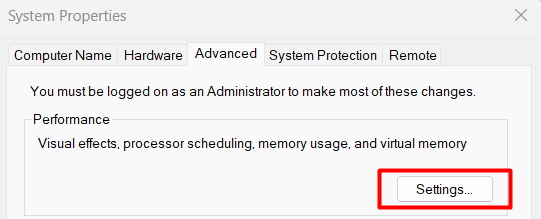
- Click on the Settings option in the Performance section.
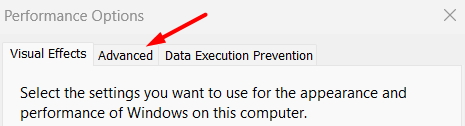
- Once the Performance Options box opens, move to the Advanced tab.
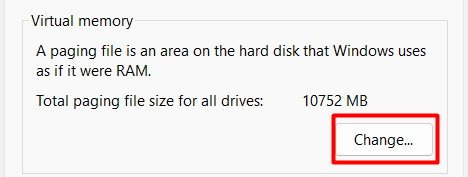
- Click on the Change button in the Virtual memory section.
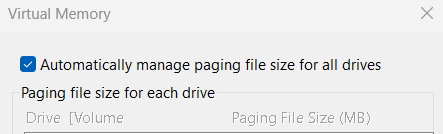
- Now, uncheck the Automatically manage paging file size for all drives checkbox.
- Click on the OK button to save the settings.
- At last, Restart your Windows PC and start using it.
8. Run the Windows Memory Diagnostic Tool
The PAGE_FAULT_IN_NONPAGED_AREA BSOD error usually occurs when there is an issue with your system’s memory. It may be possible that there is something wrong with your system memory. You can quickly scan and fix all the memory-related errors using the Windows Memory Diagnostic tool.
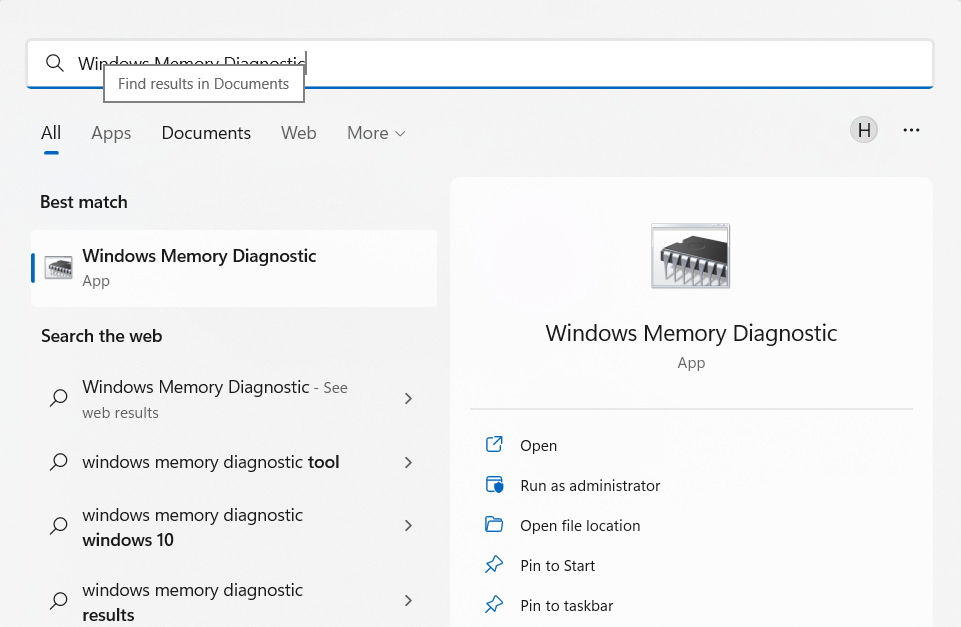
- Press the Windows key.
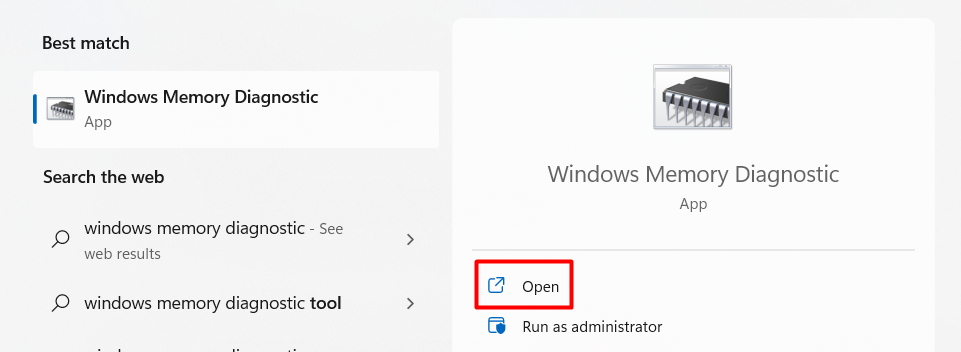
- Type Windows Memory Diagnostic in the Search Bar.
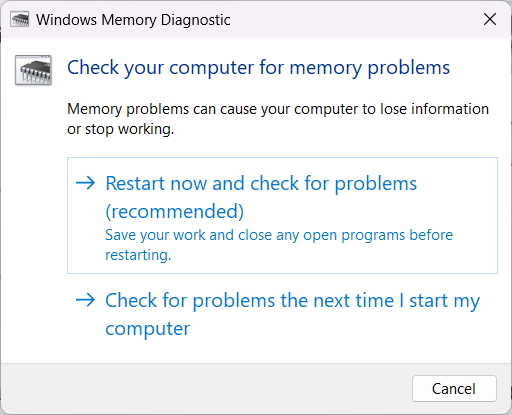
- Open the Windows Memory Diagnostic tool.
- Click on Restart now and check for problems (recommended) option.
- Your PC will now reboot and enter into detective mode and start looking for errors. You will also see a progress bar on the screen to keep a check on the progress of the process.
- It will take a few minutes to scan for errors. So, wait till the process completes, and your system reboots.
- Once the system restarts, you will see the scan results.
9. Use DISM and SFC to Repair Corrupt System Files
One of the causes of the PAGE_FAULT_IN_NONPAGED_AREA BSOD error could be your corrupted system files. You can try running a DISM and SFC scan to repair corrupted Windows system files in one go. Follow the steps to do the same.
Run DISM Scan
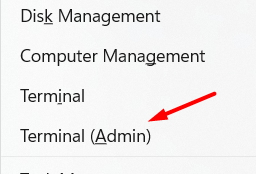
- Press Windows + X.
- Select Terminal (Admin) from the given options.
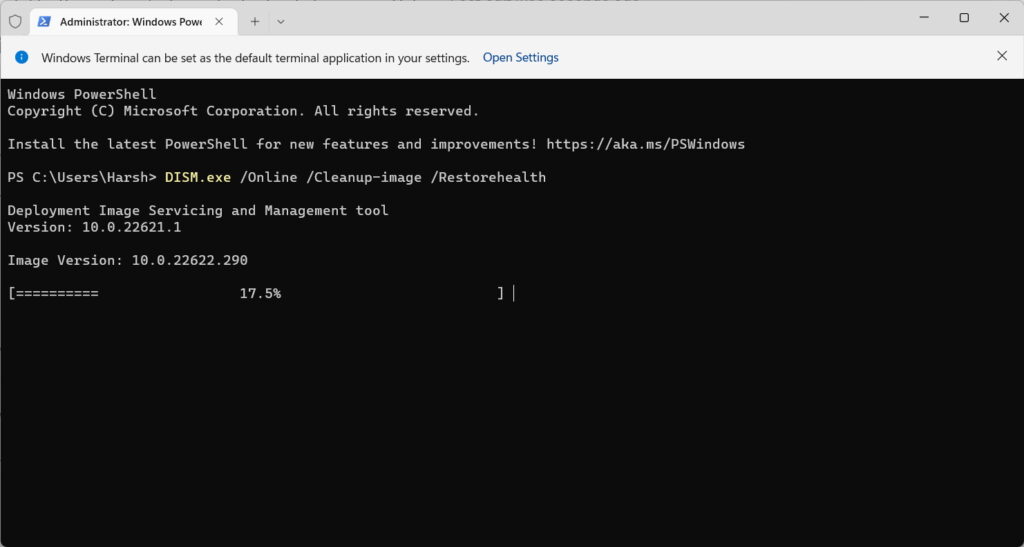
- Copy and paste the mentioned command DISM.exe /Online /Cleanup-image /Restorehealth and press the Enter key.
- Wait a few minutes to let the scan complete.
- Close the Terminal once you see the process completion message.
- At the end, Reboot the PC.
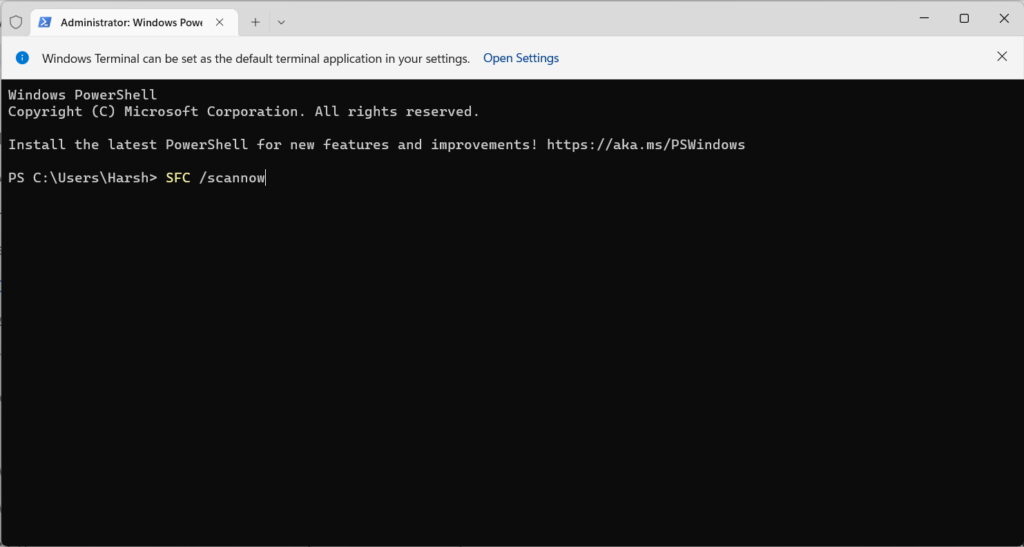
Run SFC Scan
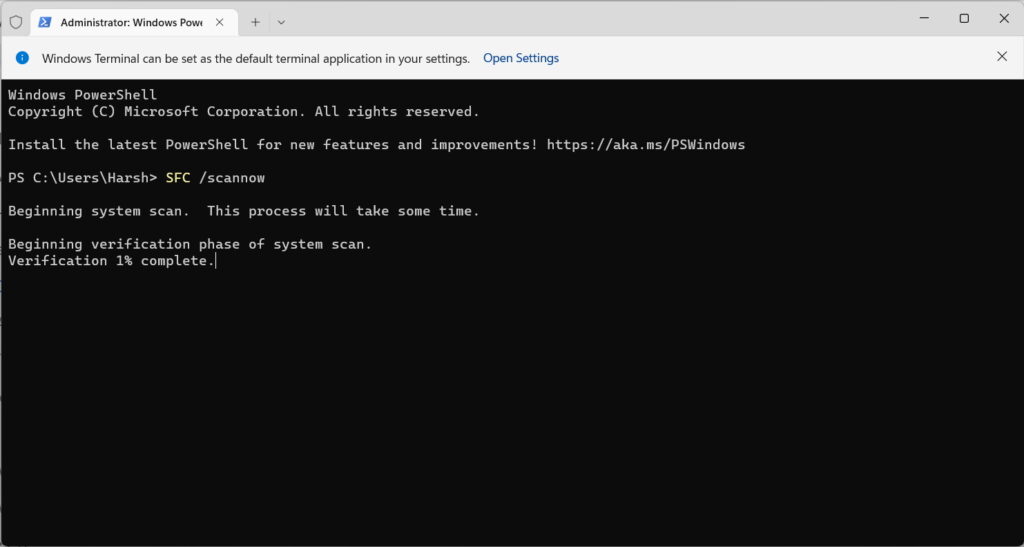
- Re-open the Terminal app and type: SFC /scannow
- Wait a few minutes to let the system search thoroughly and fix all corrupted system files.
- Once the scan completes, restart the PC.
10. Fix Drive Problems
Hard Drive Errors are one of the reasons for the PAGE_FAULT_IN_NONPAGED_AREA BSOD error. It could be possible that your hard drives malfunctioned and resulted in this error. You can repair your hard drive by executing a quick CHKDSK repair command. It’s quite simple and you can follow the below-mentioned steps to do the same.
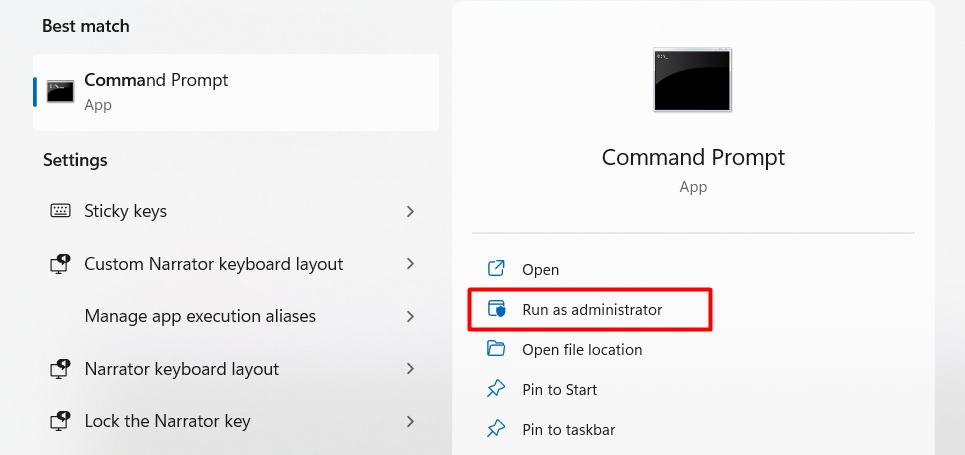
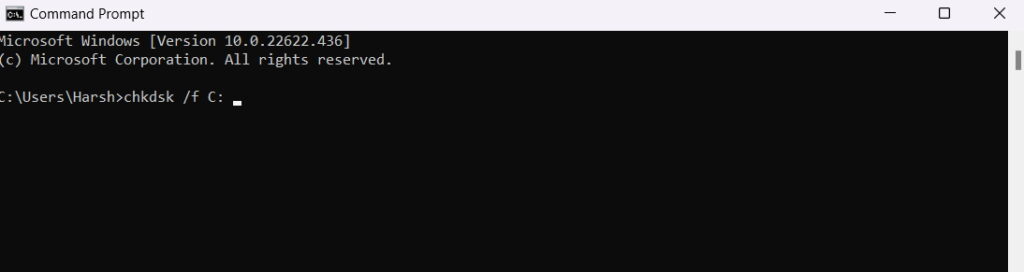
- Run Command Prompt as administrator.
- Type chkdsk /f C: in the CMD and press Enter key.
- Reboot the PC to let the system scan for hard drive errors.
- Once the process is finished, you will automatically log in to your Windows PC.
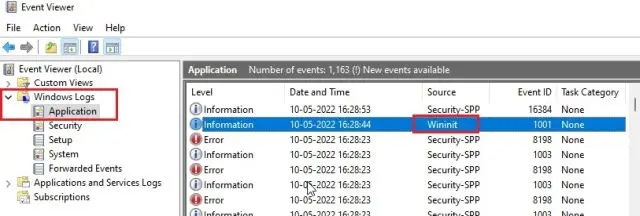
- Now, open the Event Viewer app.
- Double click on the Windows Logs tab to expand it and click on the Application option.
- Scroll down and search for Wininit and double click on it.
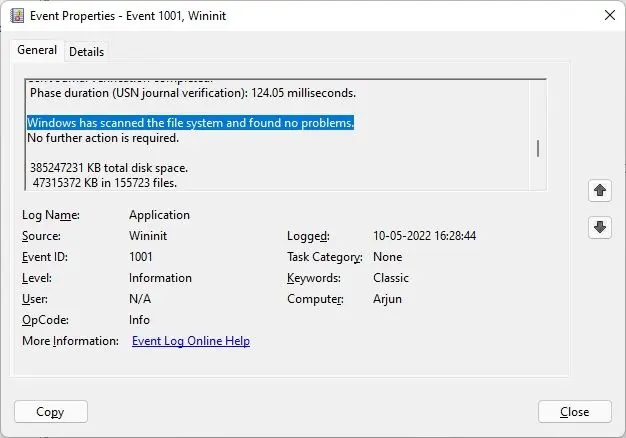
- You can now check the CHKDSK scan results.
- If the scan finds errors, you will see all the errors listed on the screen. You can search for the resolution to those errors on the web and implement them.
11. Update or Rollback Display Adapters
In some cases, it is found that the malfunctioned display adapters led to the PAGE_FAULT_IN_NONPAGED_AREA error. Fortunately, Windows lets you manage all your drivers in one place and update them. Sometimes the error occurs right after updating the display adapters. Therefore, it could be possible that the new update has some faults. You can try to update and roll back your display adapters to resolve the error individually. Follow the below-mentioned steps to learn to update and roll back your display adapters from Device Manager.
Update Display Adapters on Windows 11/10
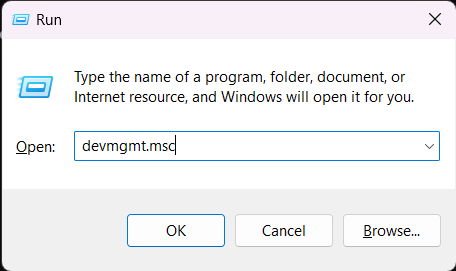
- Press Window + R.
- Type devmgmt.msc to open the Device Manager window.
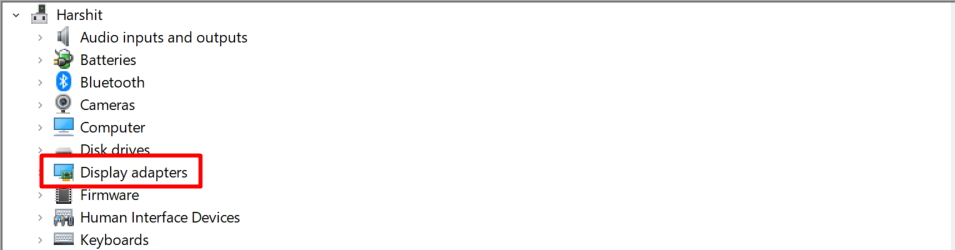
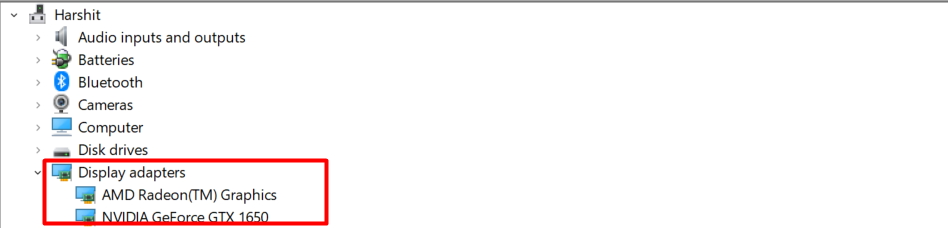
- Search for Display adapters.
- Double click on the Display adapters to get the list of all display adapters.
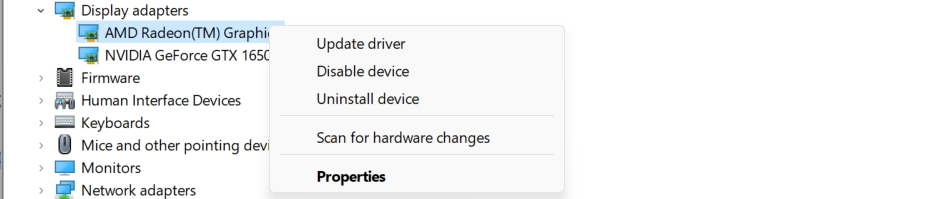
- Right-click on the display driver and select the Update driver.
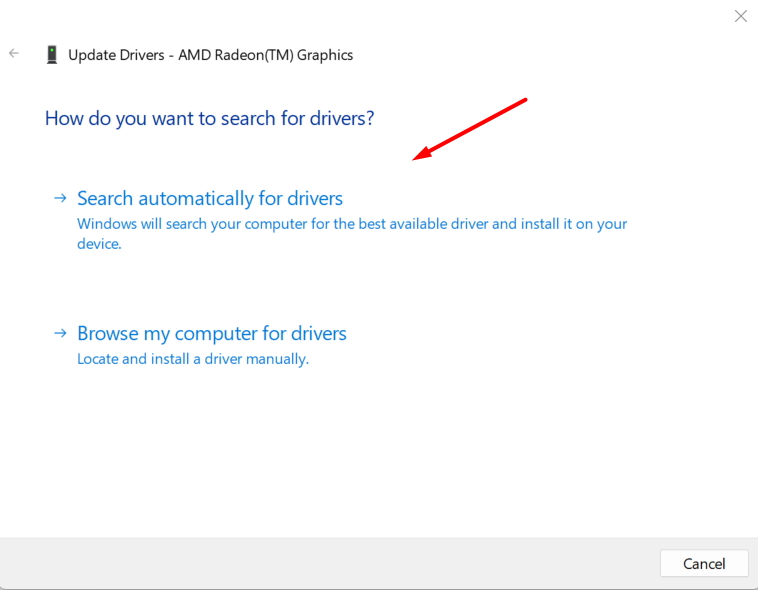
- Then, select Search automatically for drivers option.
- Wait a few seconds to let the system scan for new updates for the selected driver.
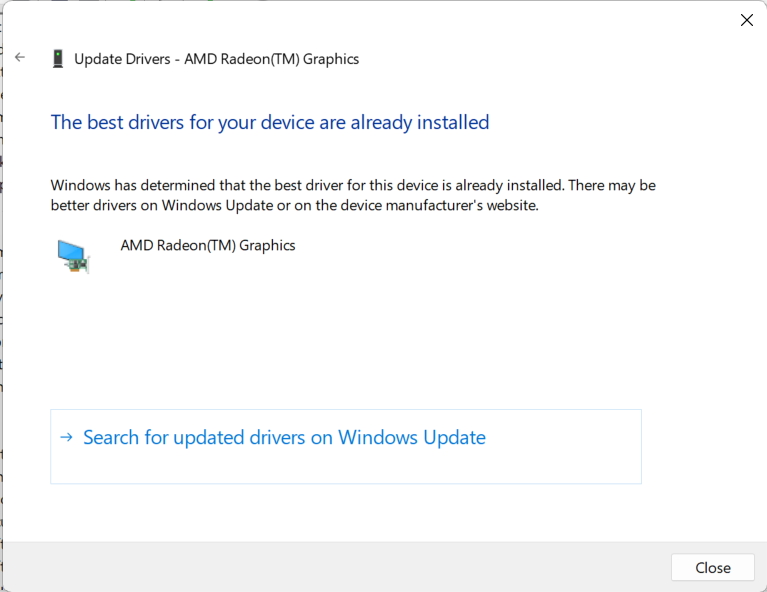
- Continue following the on-screen instructions and close the window when you see the message ‘The best drivers are already installed.’
- Follow the same steps with other display adapters.
Roll Back Display Drivers on Windows 11/10
- Select display adapter.
- Then, right-click on the display adapter.
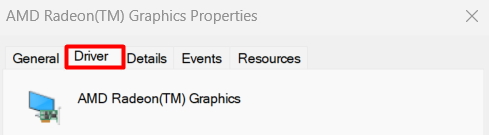
- Select Properties.
- Head to the Driver tab.
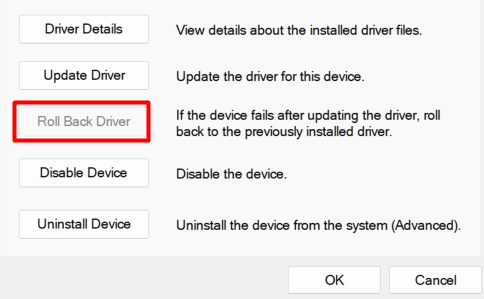
- Click on the Roll Back Driver button to roll back the selected driver to the previously installed driver.
- Implement the same steps on other display adapters.
12. Disable Third-Party Software
Sometimes third-party software interferes with the system and causes the PAGE_FAULT_IN_NONPAGED_AREA BSOD error. In fact, it is one of the most common causes of the error you are facing. One of the ways to troubleshoot this error is to disable all the third-party applications and check if the issue is resolved. It’s pretty simple, and you can do it by following the mentioned steps.
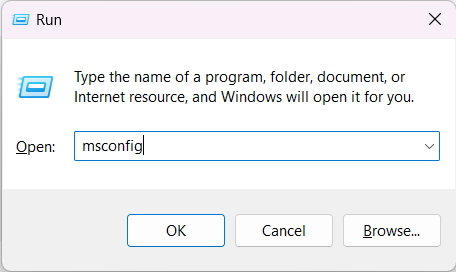
- Press Windows + R to open the Run window.
- Type msconfig and press Enter key to open the System Configuration window.
- Head to the Service tab and check the Hide all Microsoft services checkbox.
- After that, click on the Disable all option to disable the third-party programs and click Apply.
- Select OK to close the System Configuration window.
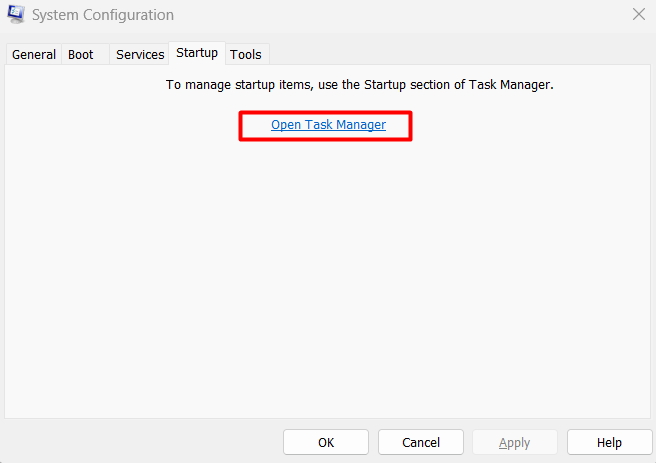
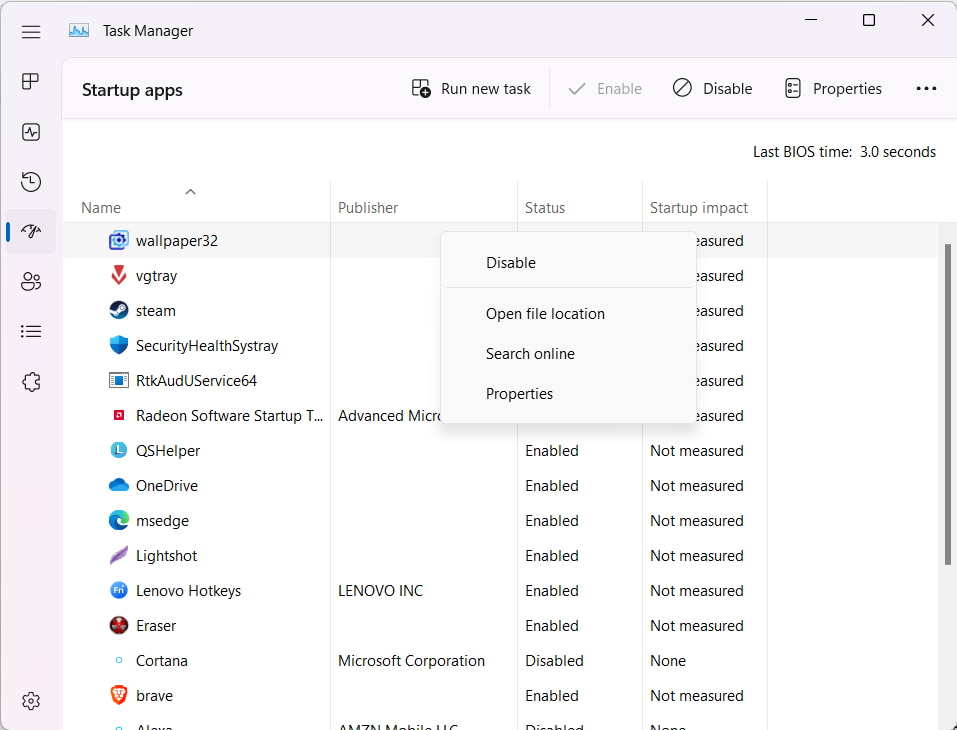
- Move to the Startup Tab and Click on Open Task Manager.
- Once the Task Manager is opened, Disable all the running programs.
- Restart your PC and see if the error is fixed.
13. Reset Your Device
If nothing works out and you continue facing the same annoying BSOD error. As a last resort, you can try resetting your entire Windows PC with a single click. Don’t fret. Resetting the PC will only reset the Windows settings and system files. Your files and documents will remain intact. It’s simple to reset your Windows PC and can be done by following the given steps.
Reset Windows 11 PC
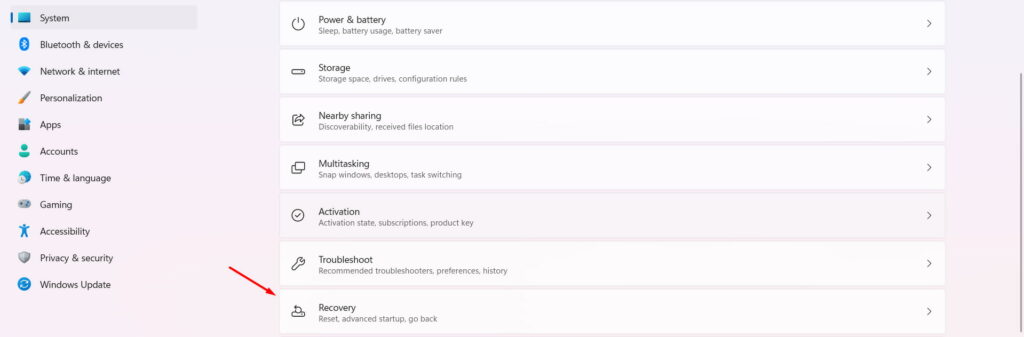
- Press Windows + I to open the Windows Settings.
- Head to Recovery settings.
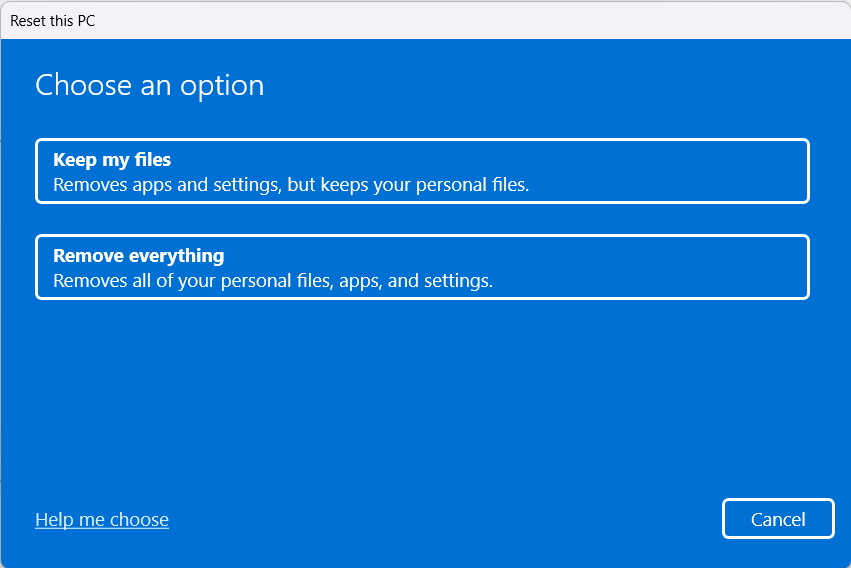
- Click the Reset PC button.
- Select Keep my files.
- Wait until the process completes and follow the on-screen instructions.
Reset Windows 10 PC
- Open Settings.
- Head to the Recovery section from the left navigation.
- Click on the Get Started option under the Reset this PC section.
How Do I Fix Nonpaged Area in Windows 11?
The Nonpaged Area BSOD error can be fixed by trying different ways, such as updating the display adapters, installing pending updates, etc. Yet, in most cases, disabling the Automatic Paging File Size Management resolves the Nonpaged Area BSOD error.
What Are Possible Causes of BSOD Error?
BSOD error mostly occurs because of faulty hardware or software. For instance, when an application crashes, it ends up interrupting the entire system’s performance and causes the Blue Screen Of Death error.
What Causes BSOD Page Fault in Nonpaged Area?
One of the most common causes of the error is the incorrect usage of system reserved memory. There are some other reasons too that you can find above in the article.
How Do I Get Rid of the Blue Screen on Windows 10?
There are several solutions to eliminate the blue screen on Windows 10, such as disabling third-party antivirus software, updating display adapters, etc. We recommend using the Reliability Monitor to find the root cause of the BSOD error and resolve the fix accordingly.
How Do I Put Windows 10 Into Safe Mode?
Click on the Power icon, and select Restart while holding the Shift key. Your PC will now restart. On the next Choose an option window, select Troubleshoot. Then, select Advanced options. In Advanced options settings, click on the Startup settings option. Now, click on the Restart button. Lastly, press the 5 key on your keyboard to boot into Safe Mode with Internet access. You have now entered your Windows 10 PC into Safe Mode.
Final Words
Needless to say, it is very irritating to get the PAGE_FAULT_IN_NONPAGED_AREA BSOD error. As it is one of the common error, the fixes are also pretty common and easy to implement. Try the listed fixes to resolve the error and get out of this deteriorating situation. These solutions will indeed help you fix the PAGE_FAULT_IN_NONPAGED_AREA error in Windows 11/10. By the way which fix worked wonders for you? Do let us know in the comments section.