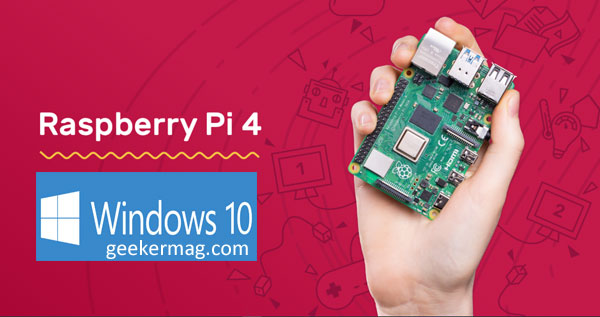
Fortunately, there are various methods to install and run Windows 10 Operating System on a Raspberry Pi. Interested users who want to try Windows 10 on Raspberry Pi device can install Windows 10 IoT, which is a smallest version of Windows 10 Edition. But there’s a catch, the company want users to use this edition for prototyping and not for enjoy fully fledged desktop experience. So officially, Microsoft doesn’t want users to install and run real edition of Windows 10 on dual-display, desktop computer called Raspberry Pi 4 and take most out of it. No worries, there are various tech project available on the internet that make it possible for the users to install and run Windows 10 on Raspberry device. In this blog post, we will discuss with you step by step instructions on how to Install Windows 10 on Raspberry device. What You’ll Require
How to Install Windows 10 on Raspberry Pi 4
- Download latest version of Windows on Raspberry (WoR) tool from this link and extract the file using archiving tool.
- Using this link visit Windows on Raspberry Pi (WoR) Discord group and download the latest version of Windows 10. You will find the download link on the left pane. You can also download UUP image of Windows 10 and convert it manually to ISO image. Windows 10 v2004, v1909, and v1903 are working fine.
- Launch WoR Alpha tool on your device and select your language depending on your region.
- Insert your Micro SD Card into the desktop and Select the drive. Make sure, Raspberry Pi 4 [ARM64] is selected.
- Select Windows 10 image for ARM device.
- In Select the Drivers screen, Select “latest package of drivers from the server“.
- Select Use the latest UEFI firmware available.
- In Select the UEFI firmware screen, you need to select the option “Use the latest UEFI firmware available on the server“.
- In Configuration screen, you need to switch to Advanced tab and change memory limit to 8192 MB. If you don’t do that, your device will automatically locked to 1GB RAM. After doing this, back to main screen and check configuration and if all good, click on the Next button.
- In Installation overview, you will get quick preview of your selection to perform the installation. Double-check it and once its all good, click on the Install button.
- Doing this will start the installation of Windows 10 on Raspberry Pi 4 device. The installation will take 2-3 hours depending on how fast is your microSD card.
- Again visit (link discussed above) Windows on Raspberry Pi Discord server and download the RAM fix file for Raspberry Pi 4, and extract the files.
- Copy and paste winpatch.exe file to root i.e. C:drive
- Launch File Explorer and find out in which drive of your ARM device Windows 10 is installed. You need to remember the name of drive.
- Launch Elevated Command and then execute following command to go to C: drive: cd:\
- To enable the USB ports on Raspberry Pi 4 device, you need to Patch USB drive. For that, you need to execute following command: winpatch X:\Windows\System32\drivers\USBXHCI.SYS 910063E8370000EA 910063E8360000EA 3700010AD5033F9F 3600010AD5033F9F In above command, you need to replace X: drive with drive letter that matches your installation.
- Close everything and remove microSD card.
- Insert microSD card into Raspberry Pi 4 device. 19, After that, Connect Keyboard and Mouse to your device and turn it ON.
- Now perform the standard procedure to setup Windows 10, like you install it on other devices. Wait for few seconds and you’re ready to use Windows 10 on your Raspberry Pi 4 device.
- Launch Task Manager and check how much memory is installed. If its 1GB, then you need to enable 3GB RAM. For that, you need to execute following command in elevated command prompt window: bcdedit /deletevalue {default} truncatememory
- At last, reboot your Raspberry Pi 4 device to apply the changes.
- To access internet on your device, you can use compatible WI-Fi dongle or USB to Ethernet
- To install Microsoft Edge browser on your device, you need to double-click on the icon available on the desktop. (Google Chrome doesn’t support ARM device)
- The process to install software on Windows 10 is similar like you do in generally. Now its your turn to try these steps to install and start using Windows 10 on your Raspberry device. Don’t forget to tell us your experience with us in the comments.
