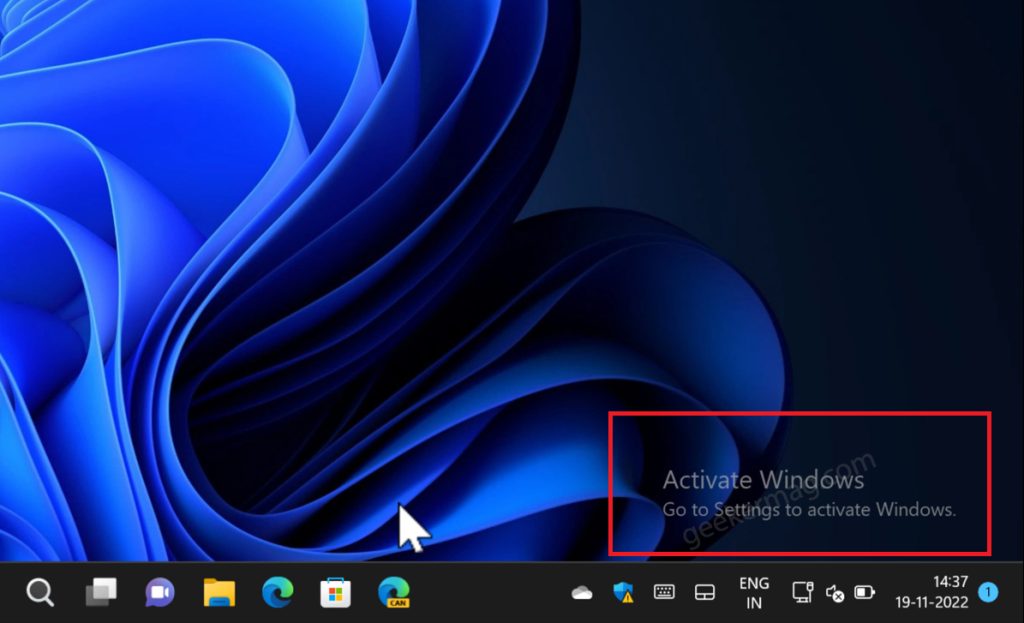
Sometimes you want to get rid of Activate Windows watermark from your PC and there could be various reasons behind this. According to Microsoft the only way to remove the watermark is to purchase a license and activate Windows. And there’s nothing wrong with that. But what if you’re running Windows 11 on a virtual machine just for testing, and you want to remove the watermark? No one on earth will purchase a license just to remove the watermark, right? At least I’m not going to do that.
How to Remove “Activate Windows” Watermark in Windows 11/10
So the question is how to remove Activate Windows watermark from Windows 11 without purchasing a license? If you landed on this page, then definitely you’re in the same situation and want to achieve the same thing. In this blog post, you will learn two possible ways using which you can easily get rid of Activate windows watermark in Windows 11. So without further ado, let’s get started:
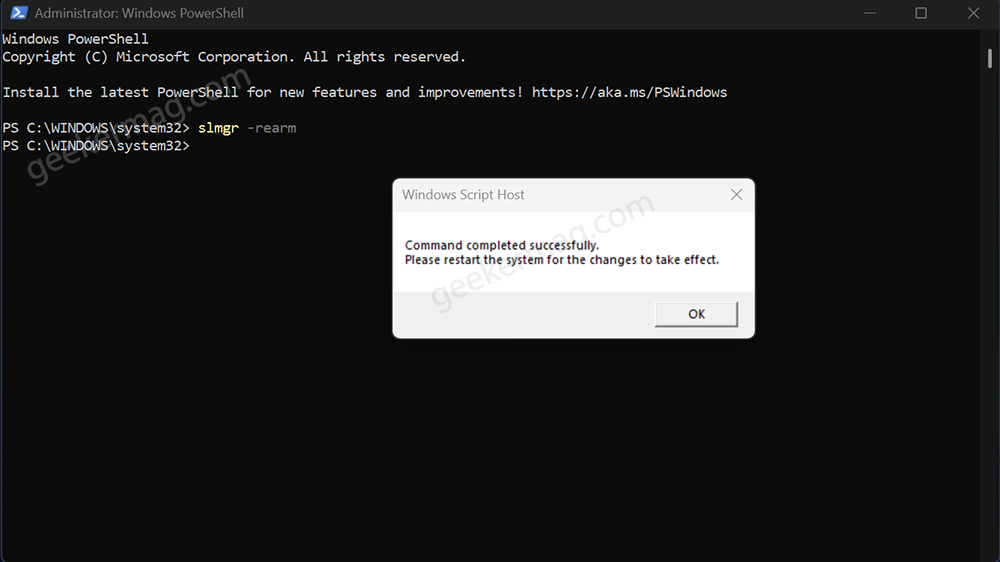
Method One – Reset Activation Timer
Click on the Search icon available on the Taskbar, and type CMD. When the Command prompt appears in search results, click ‘Run as administrator. When the UAC dialog box appears, click Yes to continue. In the Command window, you need to type: slmgr -rearm, and hit enter. Once you see the following dialog box, restart your computer to apply the changes. After this, you will no longer see the watermark.
Method Two – Use Registry Hack
Click on the Search icon available on the Taskbar, the type Regedit, when the Registry editor appears in the search results, click to open it. When the UAC dialog box appears, click Yes to continue. In the Registry editor, you need to navigate to the following key location: Computer\HKEY_LOCAL_MACHINE\SYSTEM\CurrentControlSet\Services\svsvc On the right side, the DWORD (32-Bit) Value is named Start, and set its Value data to 4. After that, close the Registry Editor and the launch Command prompt with admin rights. Next, execute this command: gpupdate /force At last, restart your computer to apply the changes. This registry hack will disable build info, and as a result, Activate Windows watermark will no longer appear.
Method Two – Use Test Mode Command
According to some users, the command assigned to turn off testing mode on Windows PC helps in removing a watermark. So you should try this as well. To perform this method, you need to launch the Command prompt with admin rights, then type this command: bcdedit -set TESTSIGNING OFF, and hit enter. After that, restart your computer to apply the changes. As simple as that! Internet is full of various methods which include registry hacks, commands, and tools to get rid of the activated windows watermarks, but these two methods work well in my testing. So why don’t you try these methods and let me know in the comments why you want to remove the watermark and what method helps you in achieving the same